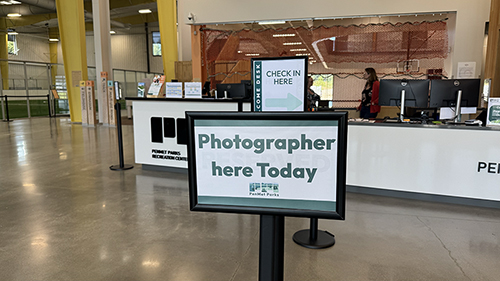
How To Photograph an Indoor Basketball Court
I’ve been involved with photographing Recreation Centers for many years now. One of the most challenging spaces within these facilities are the basketball courts. However, with the proper gear, and technique, you will be able to photograph these spaces with confidence, and deliver photos that will add to your portfolio.
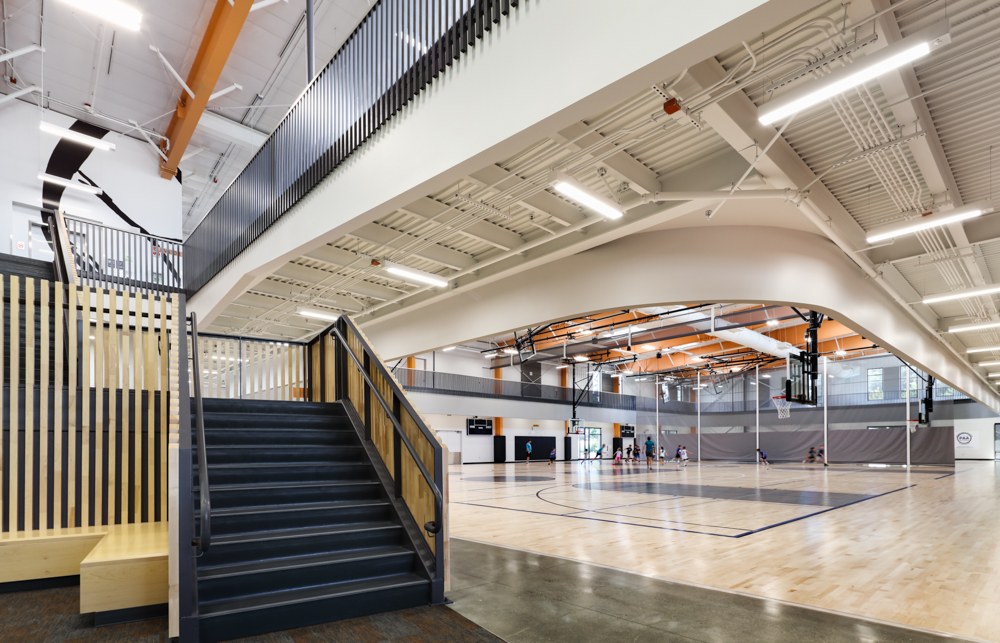
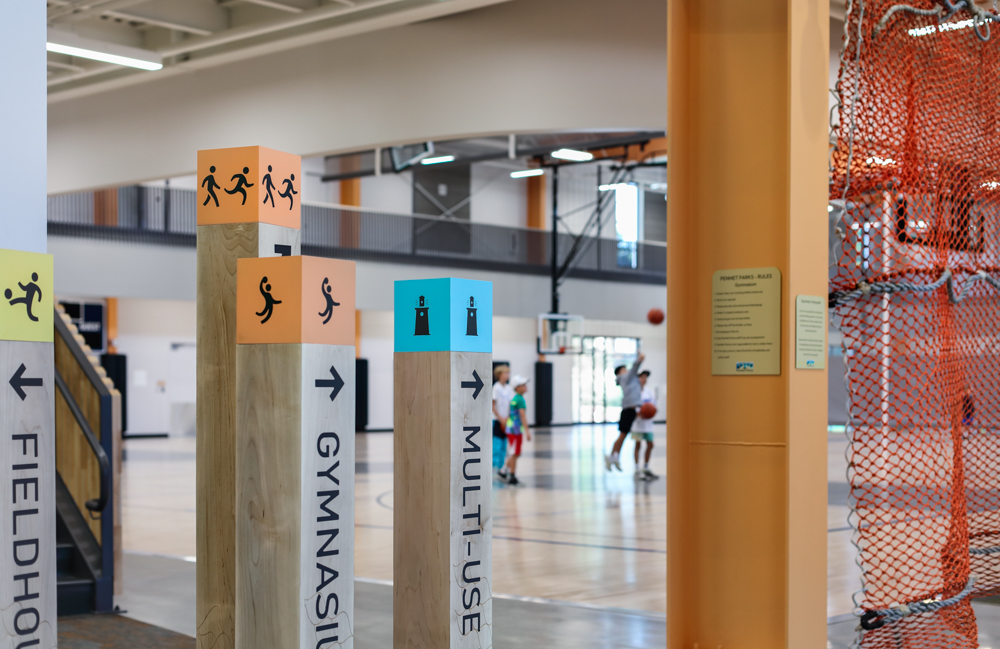
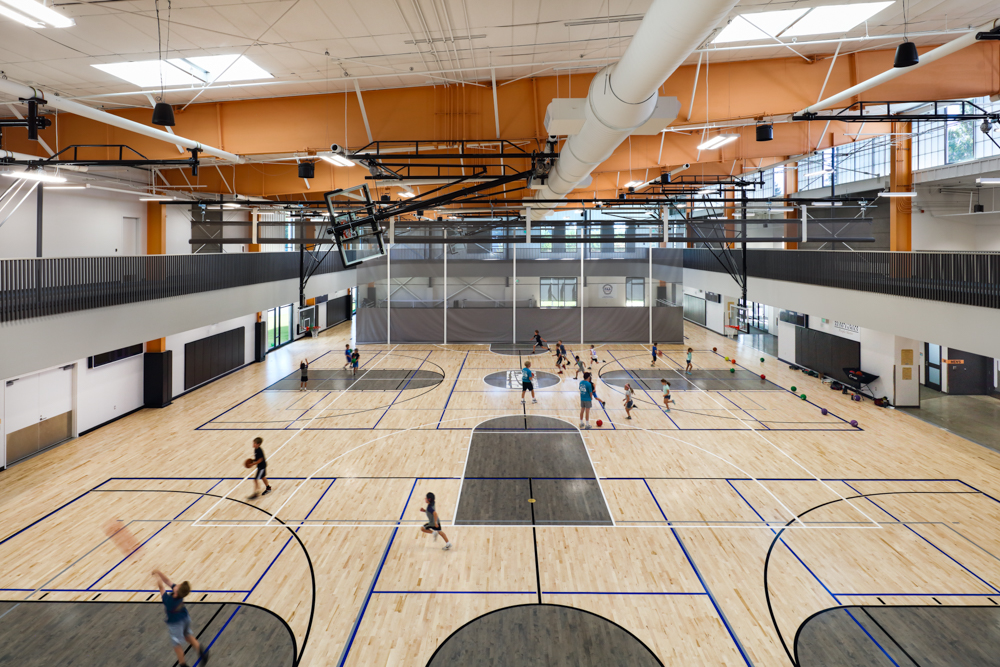
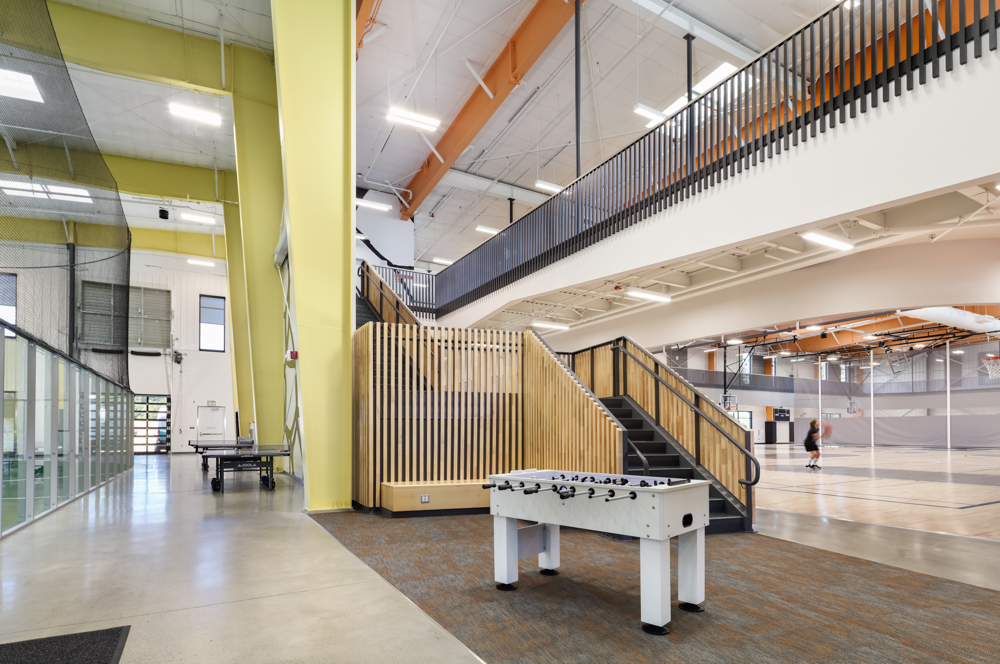
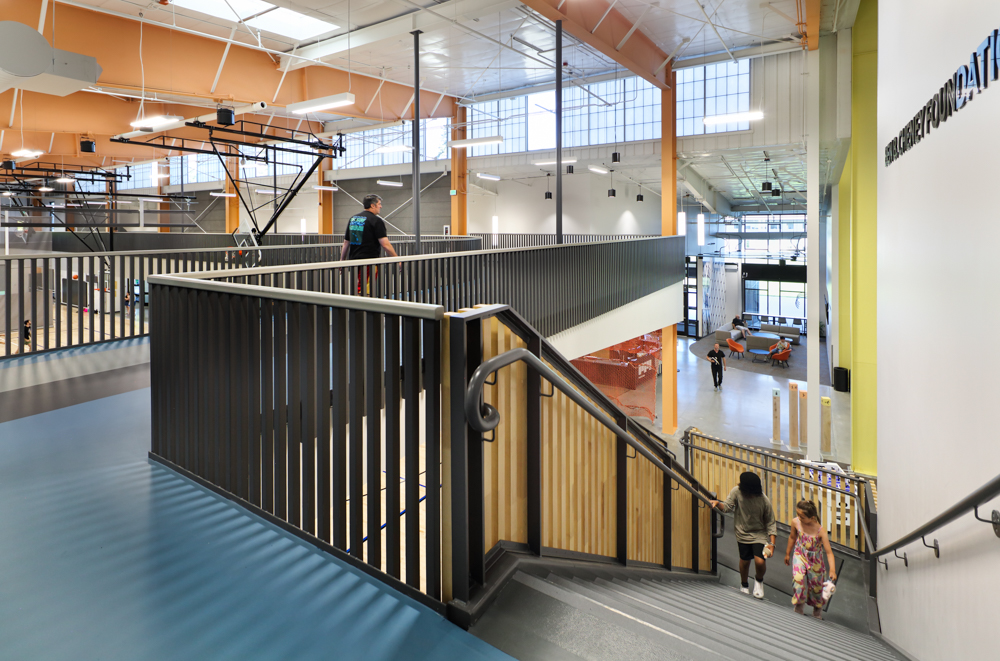
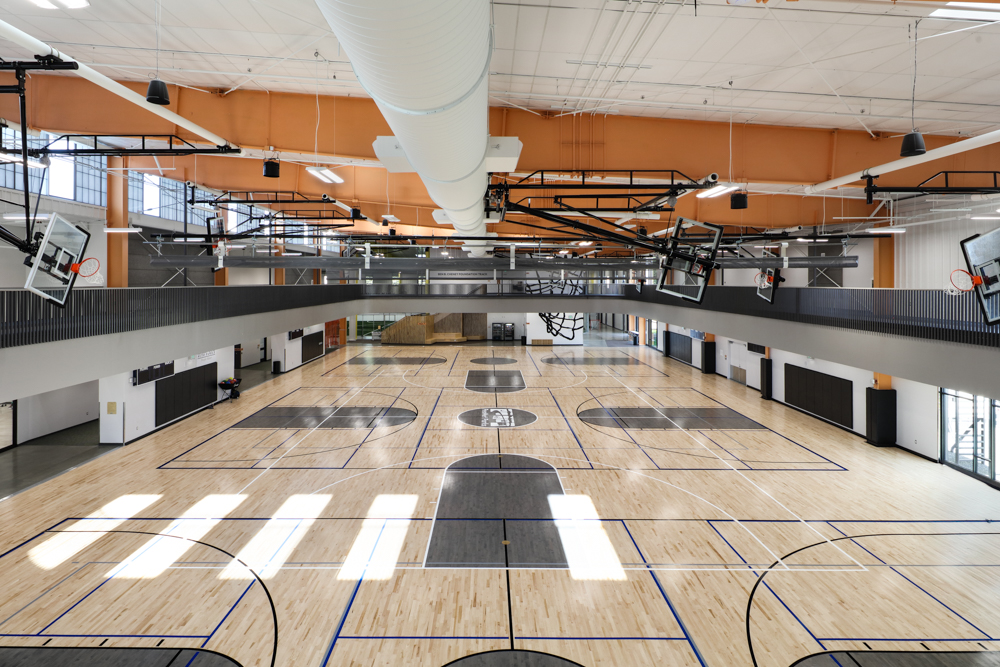
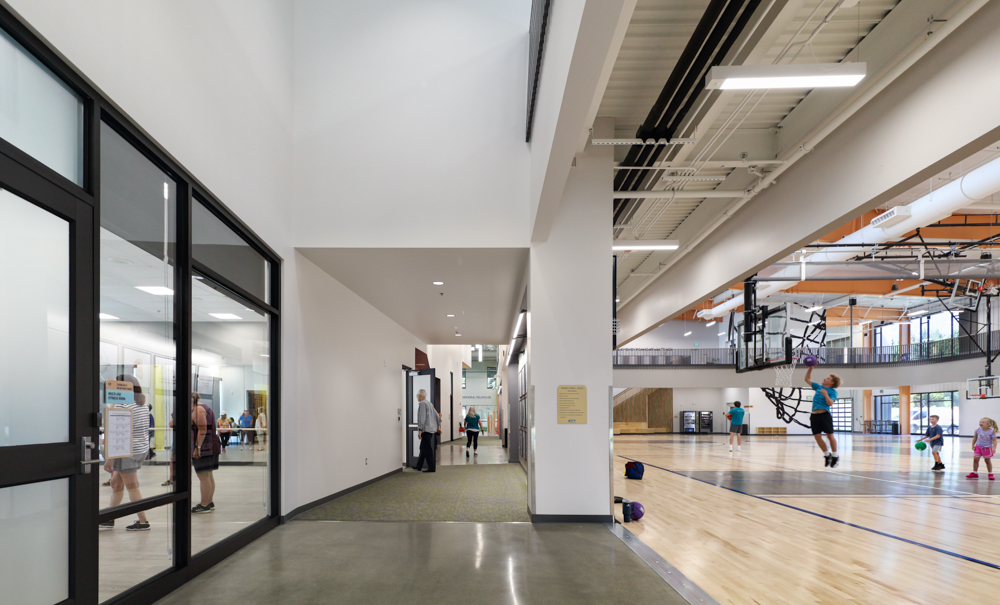
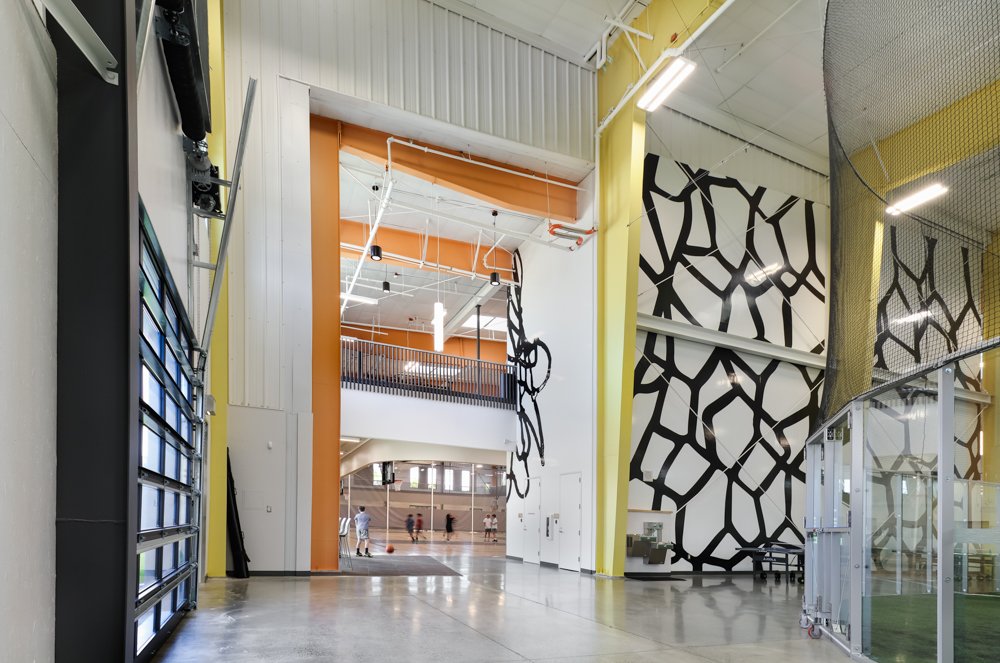
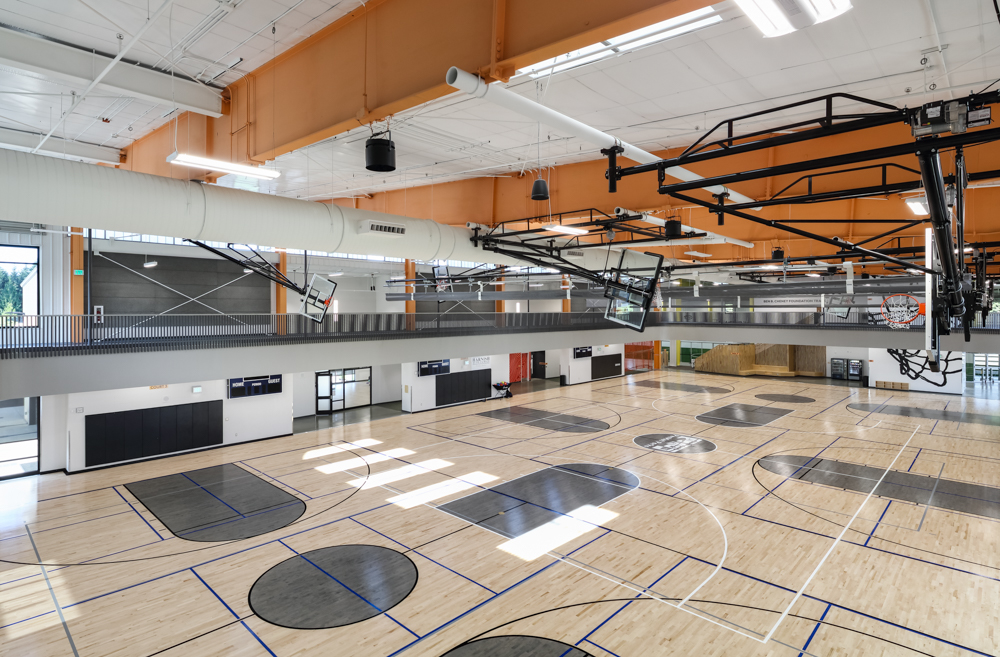
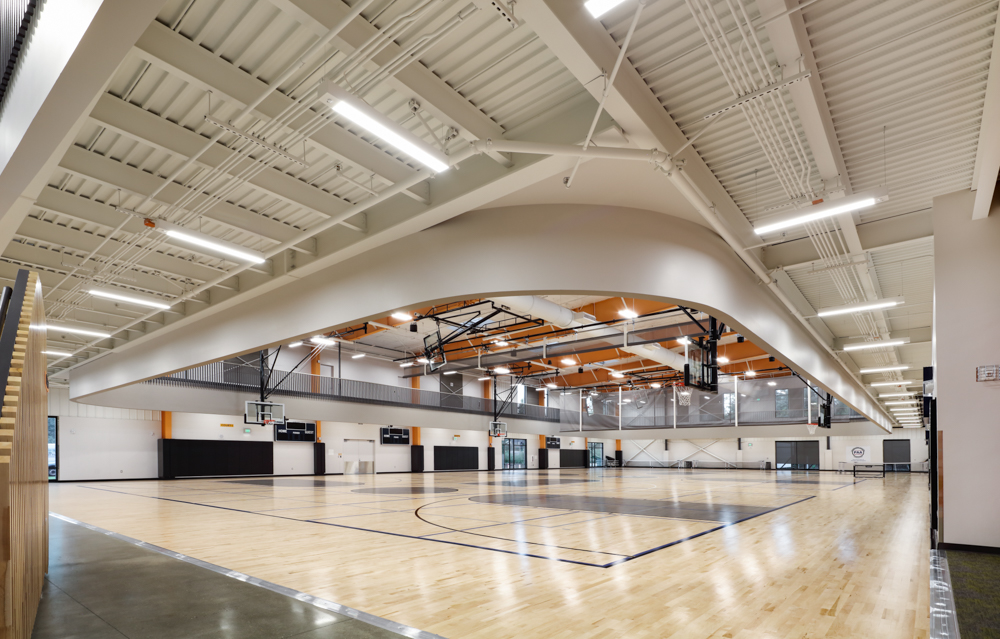
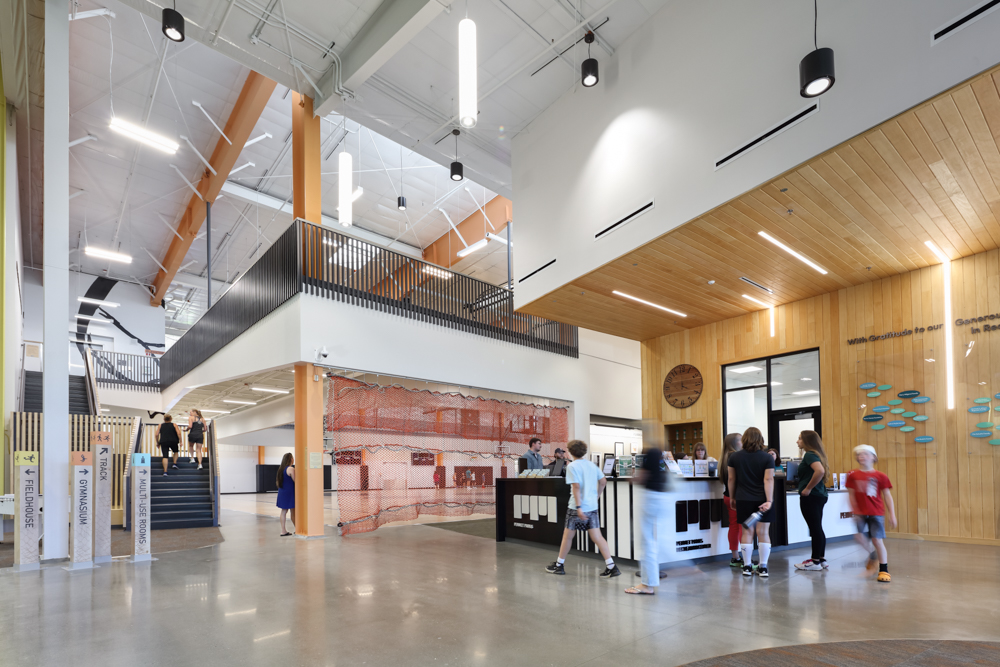
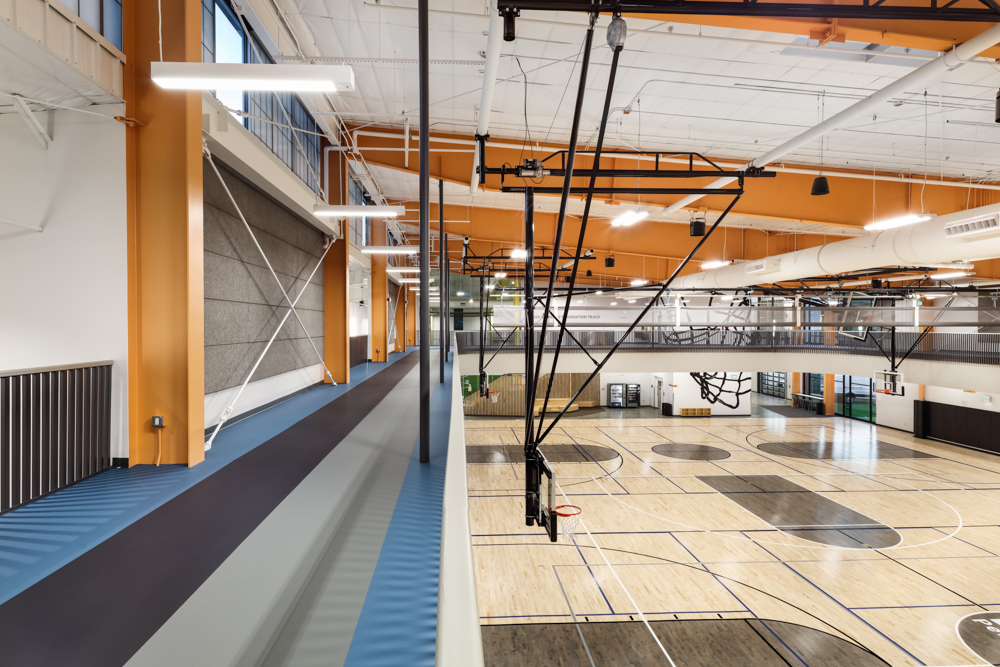
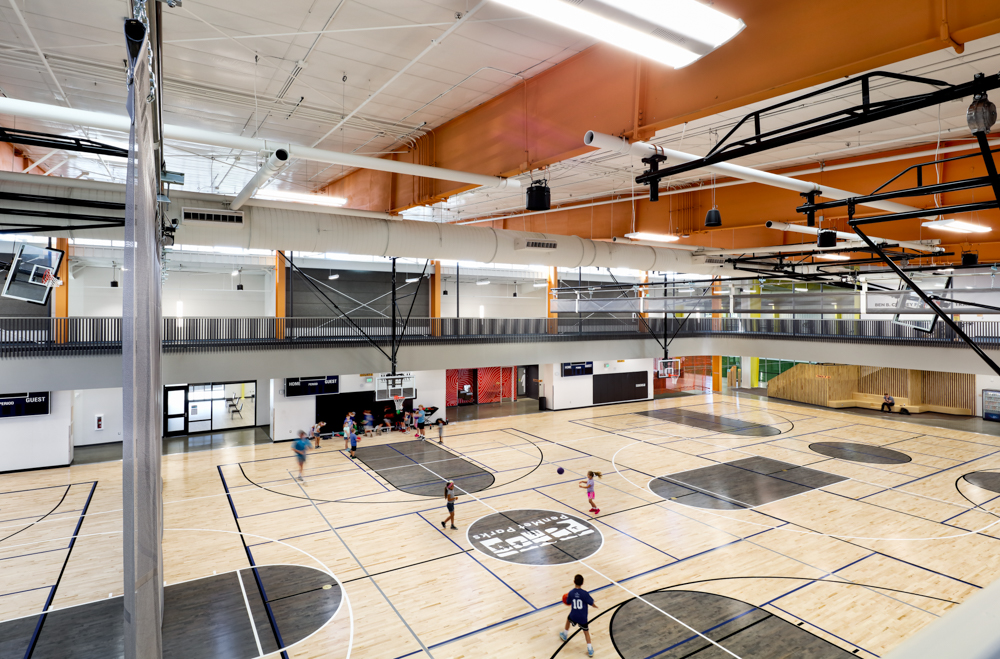
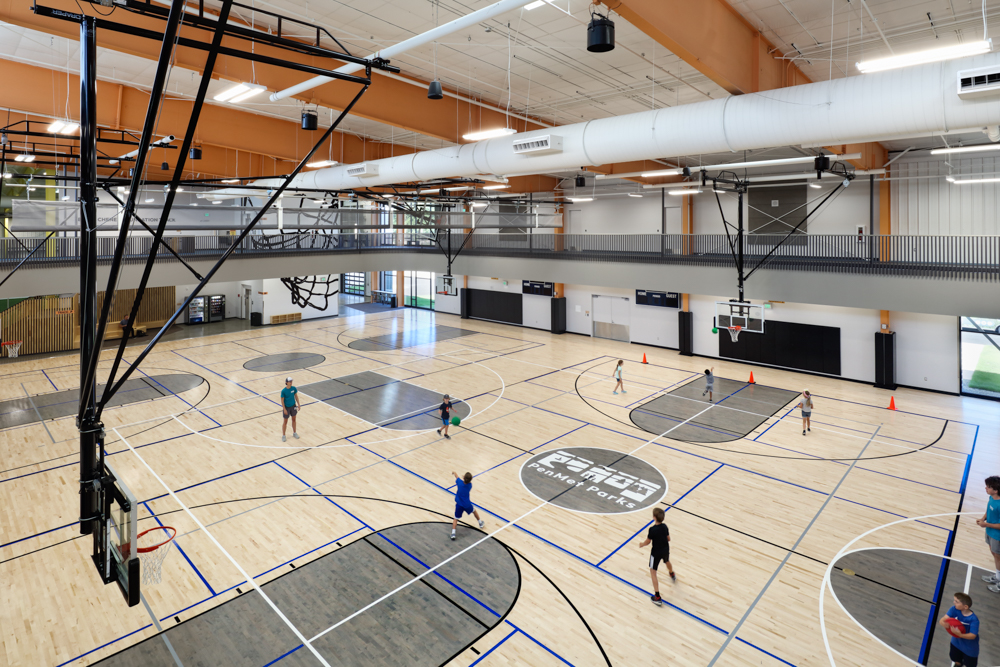
- Please note that all images on this page are lower-resolution than the originals to keep my site loading quickly!
What are the top challenges of photographing an indoor basketball court?
Challenge 1: Mitigating the Glare
The unfortunate truth is that indoor basketball courts will ALWAYS have very distracting glare on them coming from windows or overhead lights.
Raw, Unprocessed Photo:
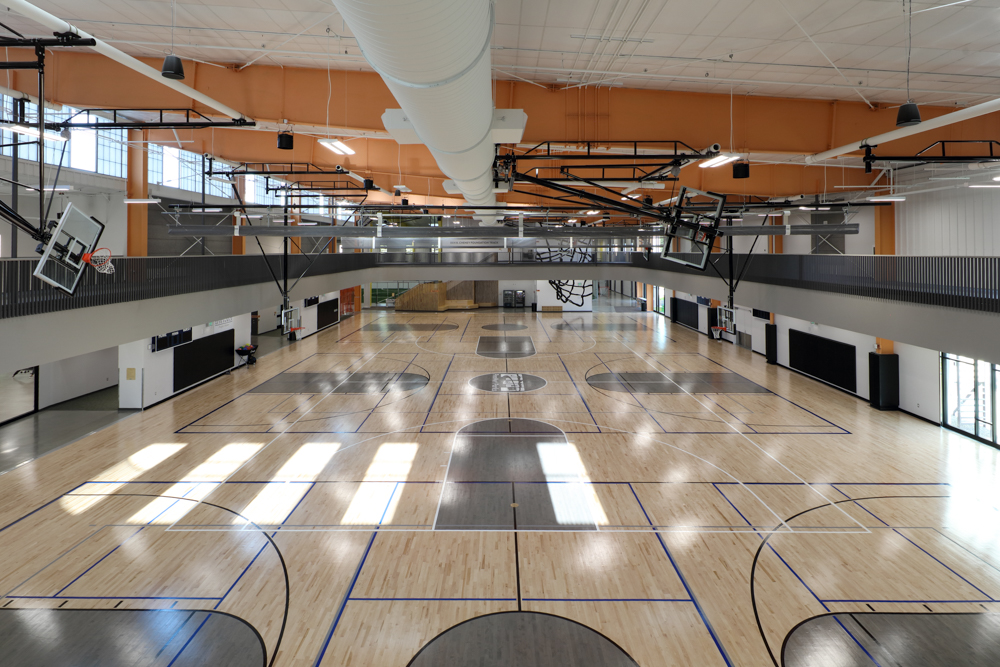
There are two very effective ways to mitigate or minimize glare on the floor.
Technique #1 is to use a Circular Polarizing Filter.
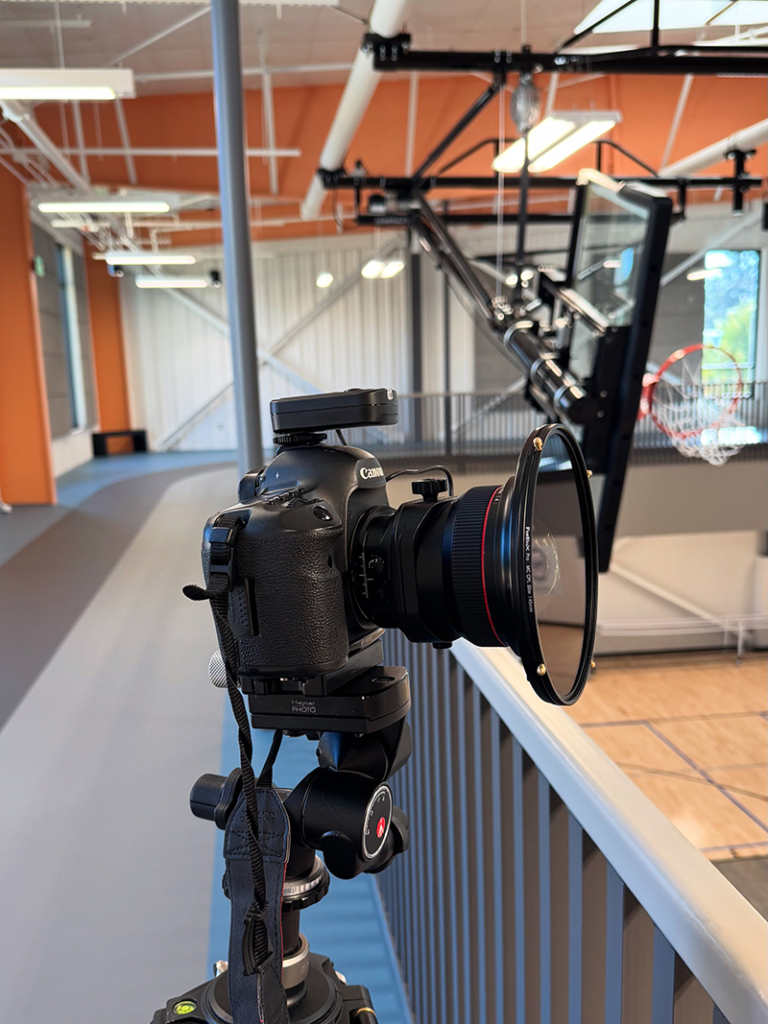
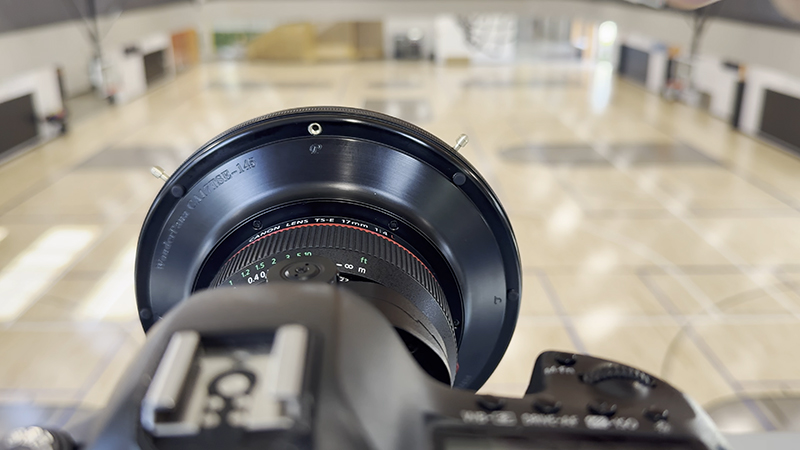
In the image above, I attached a WonderPana CPL to my 17mm Tilt-Shift Lens. This alone does wonders for glare on any surface. Once attached, simply rotate the filter until the glare is gone, and usually, the problem is effectively solved!
- Please note that there are times that “some” glare is desirable to give the space some dimension and realism. What we want to avoid is glare that is totally blown out (a nasty white blob of highlights).
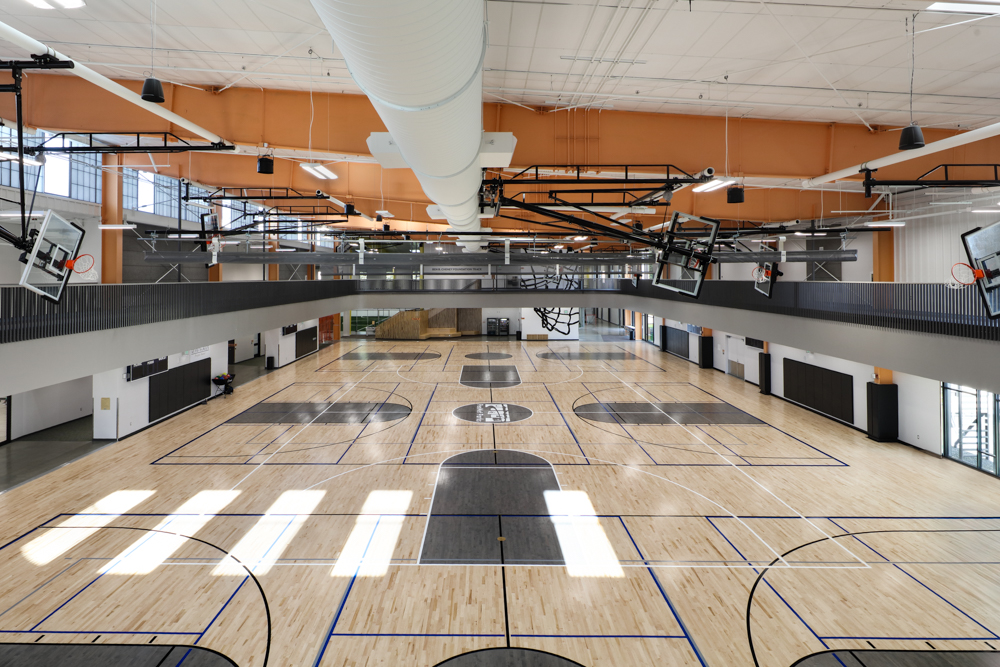
A note on using CPL’s and a word of caution
CPL’s don’t work in every case. Typically the source of the light has to be coming in at an angle, not from behind you. Occasionally you may need to capture several shots, rotating the filter for different sources of glare, and then layering/compositing in photoshop.
The photo above demonstrates that the CPL did not work as well for the glare coming in from the top of the building. I had to take a 2nd capture with the CPL in a different position to reduce the glare from above.
Additionally, CPL’s can make windows and glass surfaces look mis-colored if the windows have certain coatings.
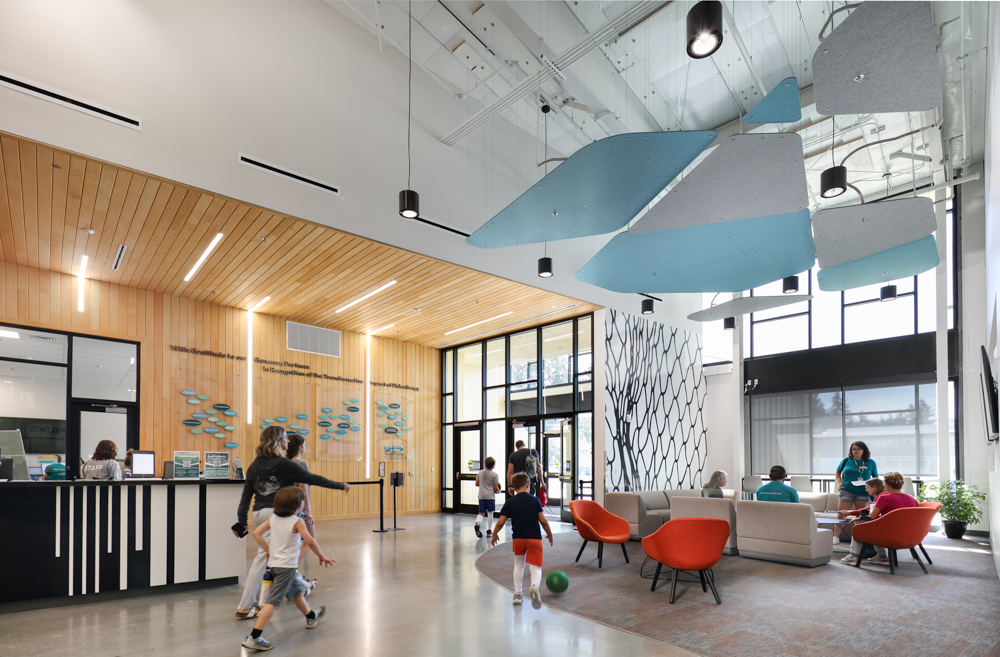
Technique #3 is to use a Lighting / Strobes
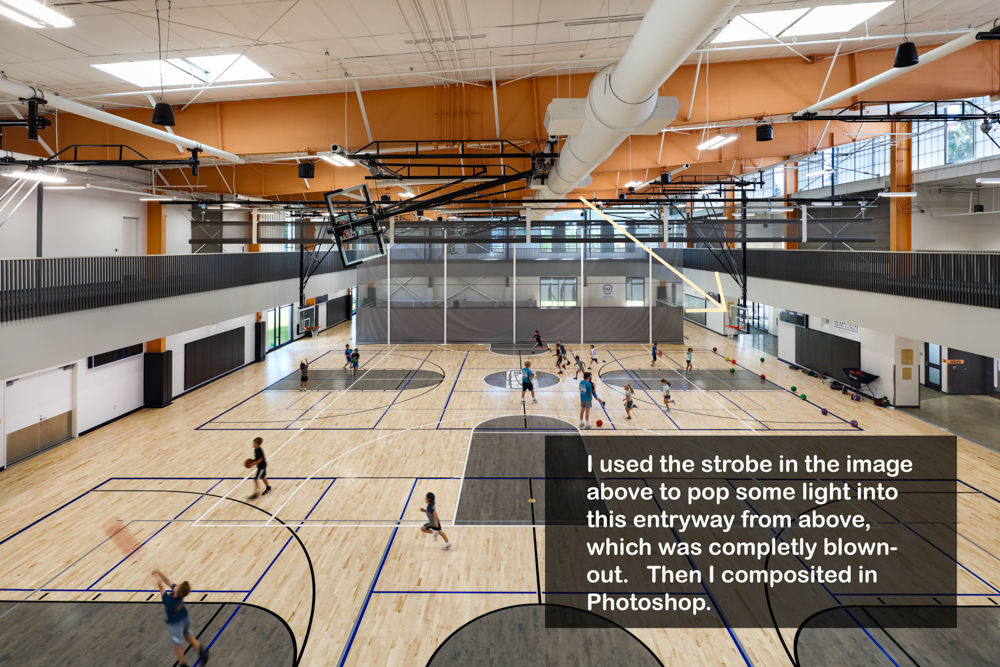
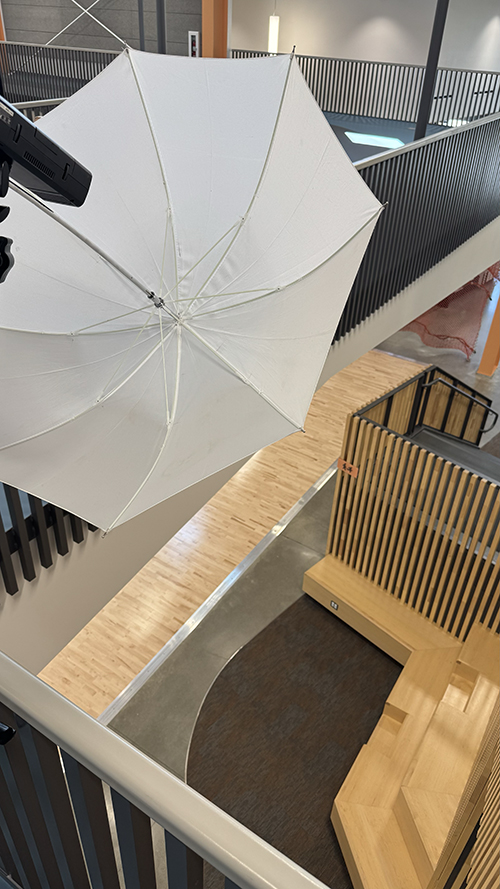
I am a huge fan of using lighting when it’s possible and practical. Of course, lighting up HUGE spaces like a basketball court is nearly impossible without massive effort and powerful lights, however, if we selectively use lighting where there are problem areas, this is my favorite way to remove glare, or to tame highlights in any photo.
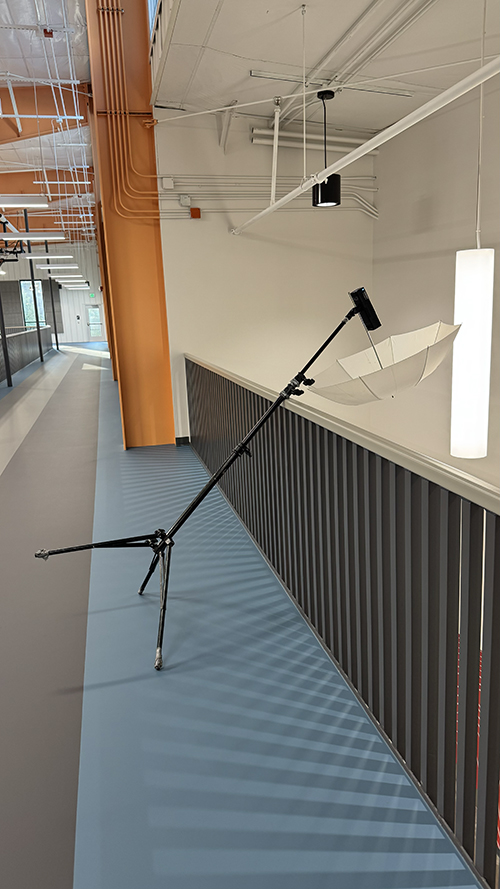
In the image above, you will see one of the light setups I use to fix problem areas in any space. I always travel with 1-2 powerful lights as well as a few shoot through umbrellas. In the image above I was directing the light over an area that had a lot of sun-glare from a window below. I was able to take this lit image into photoshop, and layer it over the ambient shot, and with some subtle paintbrushing at about 10%, the problem glare and blown-out highlights were solved.
- I also use lighting to highlight areas of a space to help draw the viewer’s eye around the scene
Challenge 2: Keeping Lines and Perspectives Straight
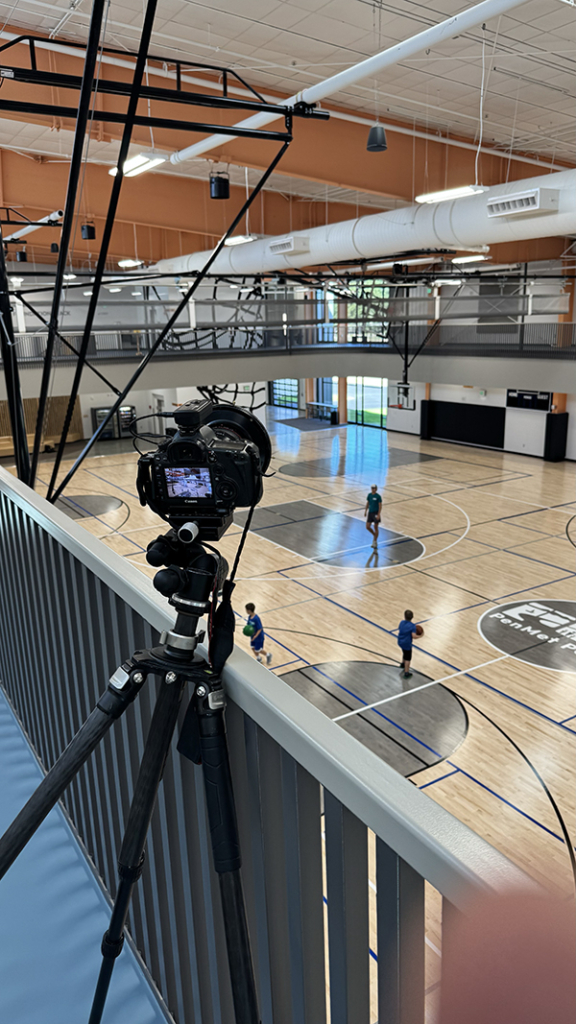
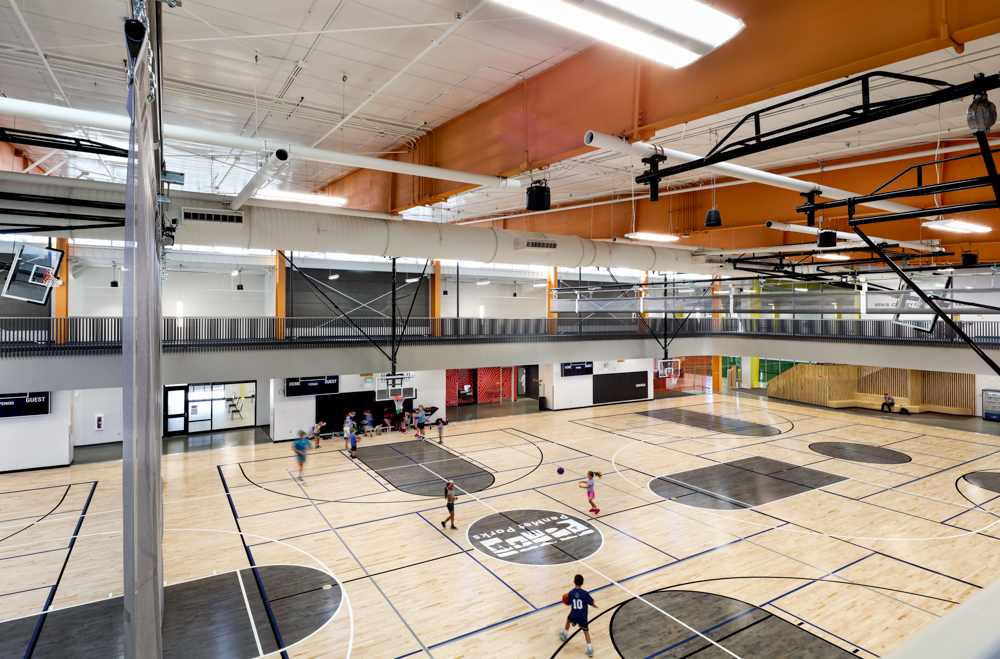
Many indoor basketball courts, especially in Recreation Centers, have a track above the court (or spectator seats) that offers a great vantage point for an elevated shot.
The problem is that photographing from an elevated position using a standard lens will cause distortion and a wonky perspective as you’ll need to pan down with the tripod to capture the scene. By panning, the verticals will bow-out and the composition and perspective will look awful.
ALL architectural photographers use Tilt-Shift lenses to solve this problem. These lenses allow photographers to shift the lens up or down, left or right without distortion issues or blowing out your vertical or horizontal lines.
My Go-To Camera Settings for Photographing an Indoor Basketball Court
I almost always shoot at F11, and capture a bracket of 5 photos. F11 is a nice ‘sweet spot’ of sharpness from the front of the image to the back, and still allows me to get a good amount of light from my flashes or strobes if needed. ISO usually 160-320 is perfect unless the space is unusually dark, or if I want to get more power from my strobes.
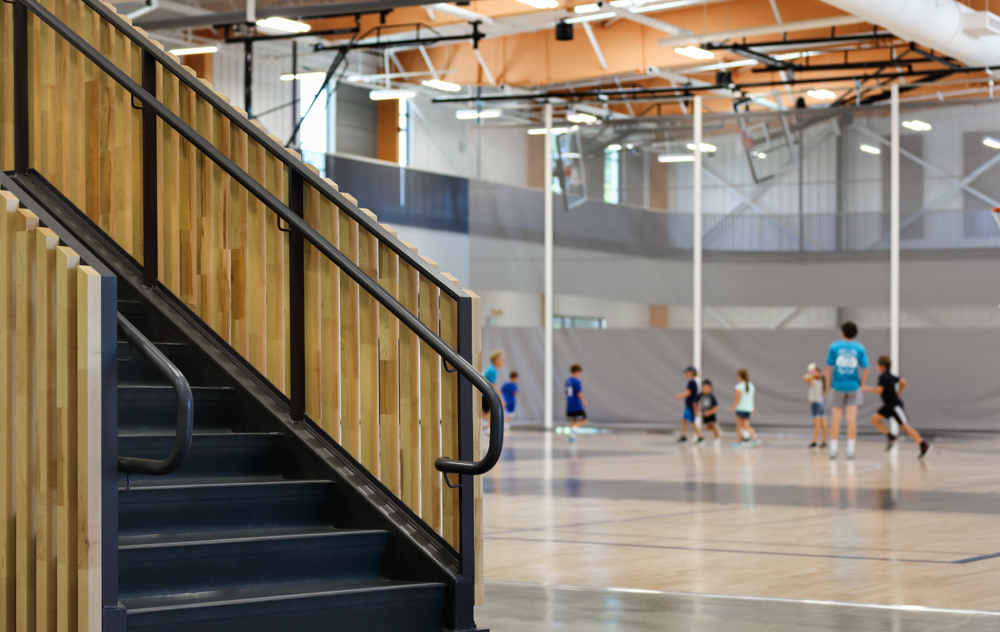
The only real exception for this is when I am using a longer focal-length, or if I want a creative effect such as bokeh, or isolating a detail or feature, as seen in the photo below.
Summary
To me, these are the top two challenges we face photographing any indoor scene with shiny surfaces and bright lights – not to mention the struggles with maintaining straight lines and perspectives from above. These are absolutely easy fixes, and should not take much time away from you on-site. It should also free up your mental bandwidth for creativity and having fun, instead of solving problems.