
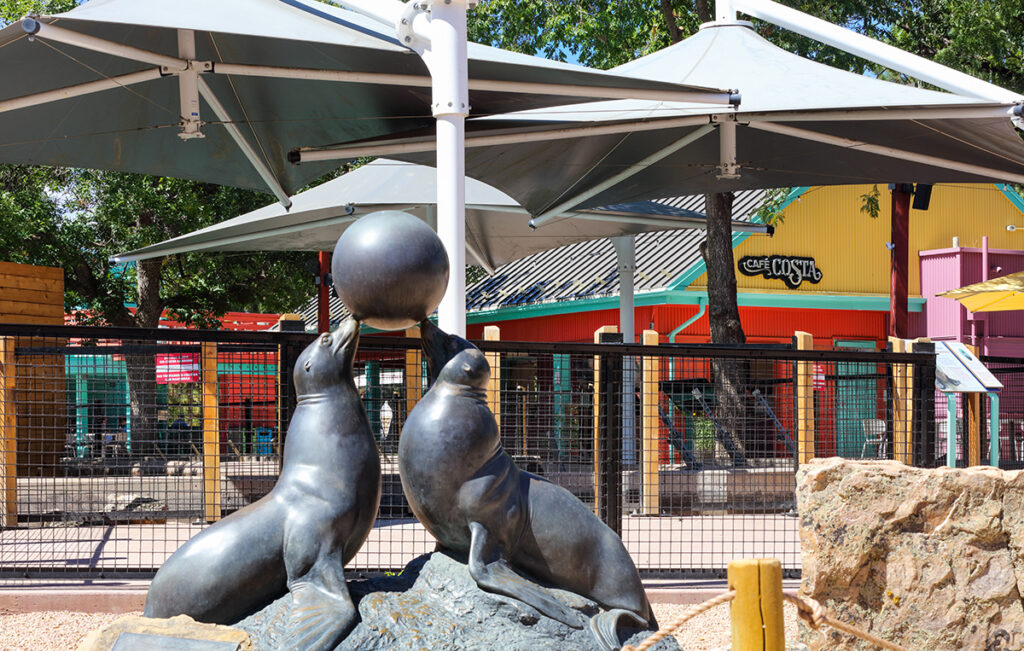
Architectural Photography at the Denver Zoo
 I was commissioned by BRS Architecture to photograph a number of their exhibits and structures that they have completed recently. They worked in conjunction with Martin/Martin Consulting Engineers, Satchell Engineering and Vertix Builders.
This project took several months of planning and photographing to complete. Photographing in a zoo environment creates some challenges, as well as opportunities.
We delivered over 150 photos on this project!
The Zoo Photography Project and Challenges
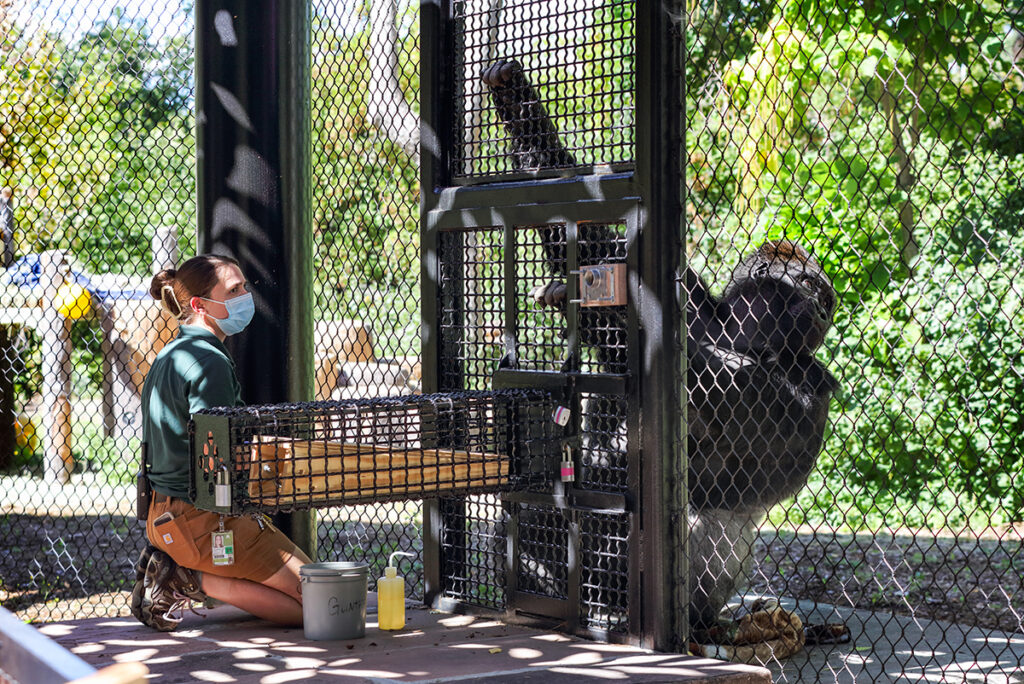
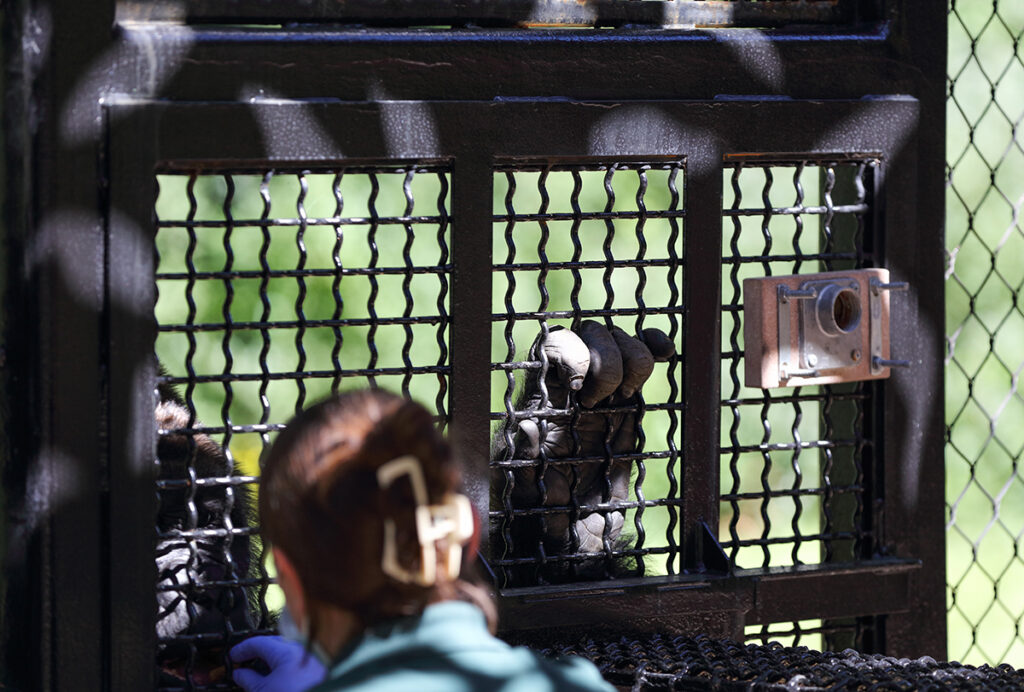
When I was first approached about photographing the architectural structures at the Denver Zoo, I was excited and a little apprehensive at the same time. Obviously the zoo is not going to close for me to come photograph, and getting access to the zoo before or after hours is not easy for the obvious reason of keeping the animals, and me safe – and to avoid any sort of liability.
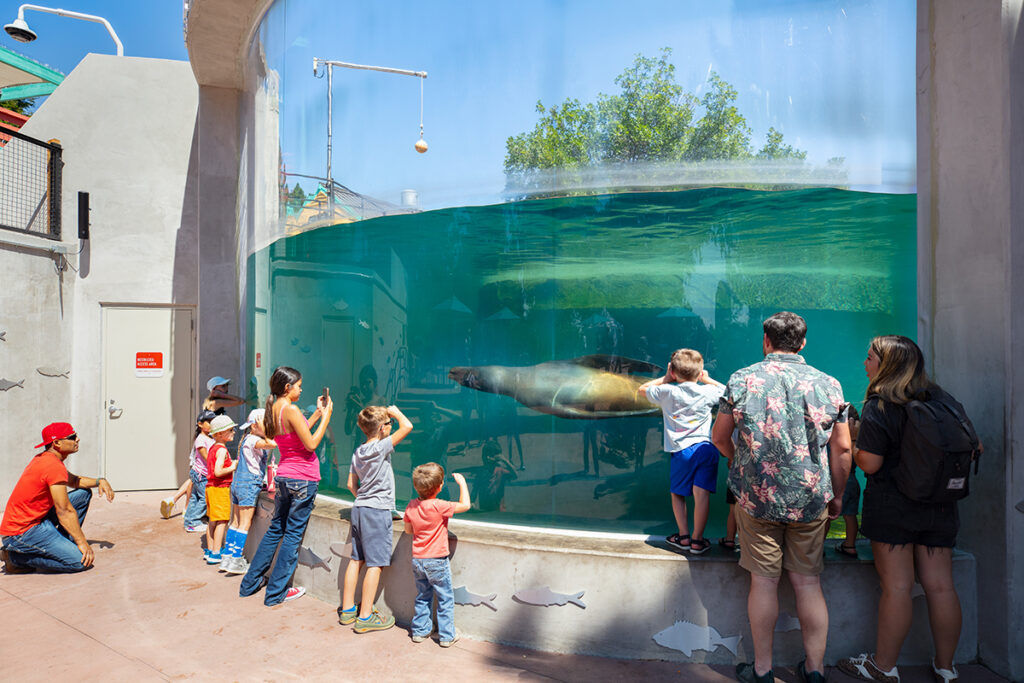
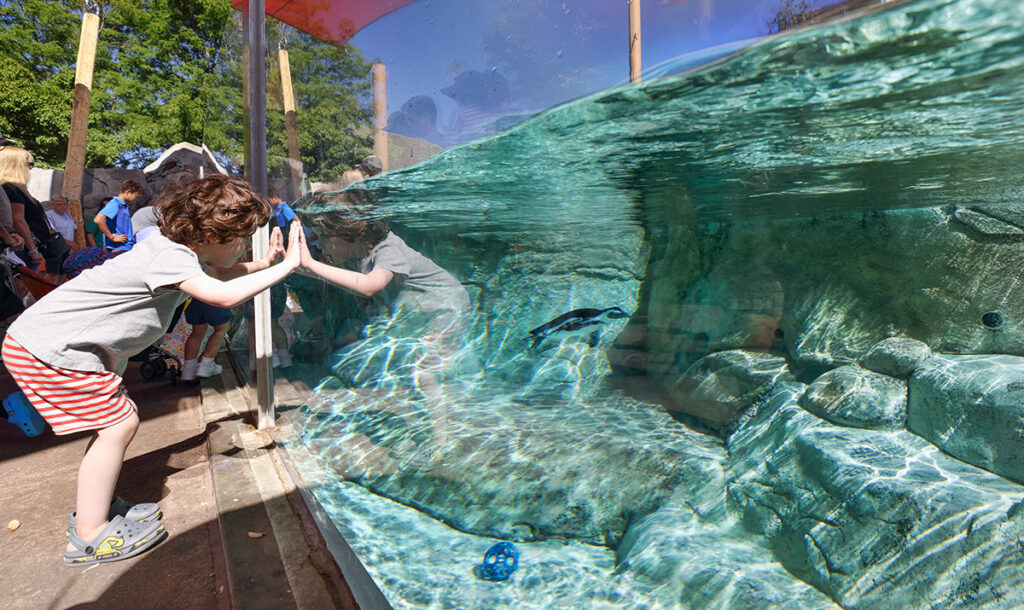
Most notably, this is a rogue, unpredictable environment for photography. No models, no staging, and no control over lighting or people. However, this created some amazing situations for me to capture as you will see below.
The First and Most Important Step
From the beginning, I insisted on doing a pre-visit, or scouting trip with the architects and builders. I felt that it was imperative to see the structures and understand where the light would be at different times of day. It’s also important for me to learn what needs to be photographed.
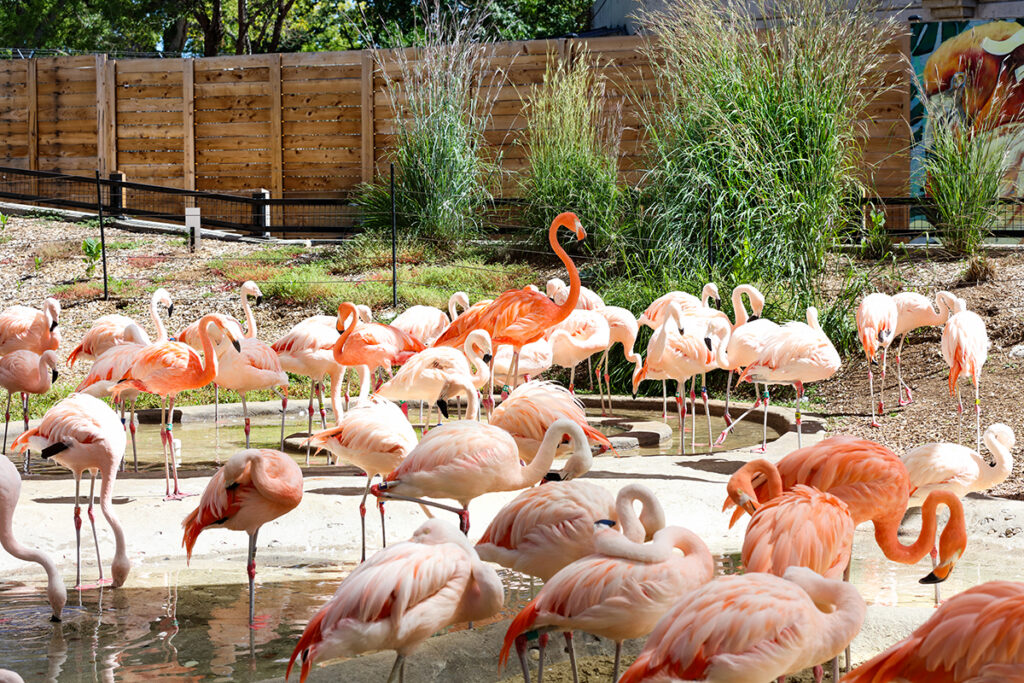
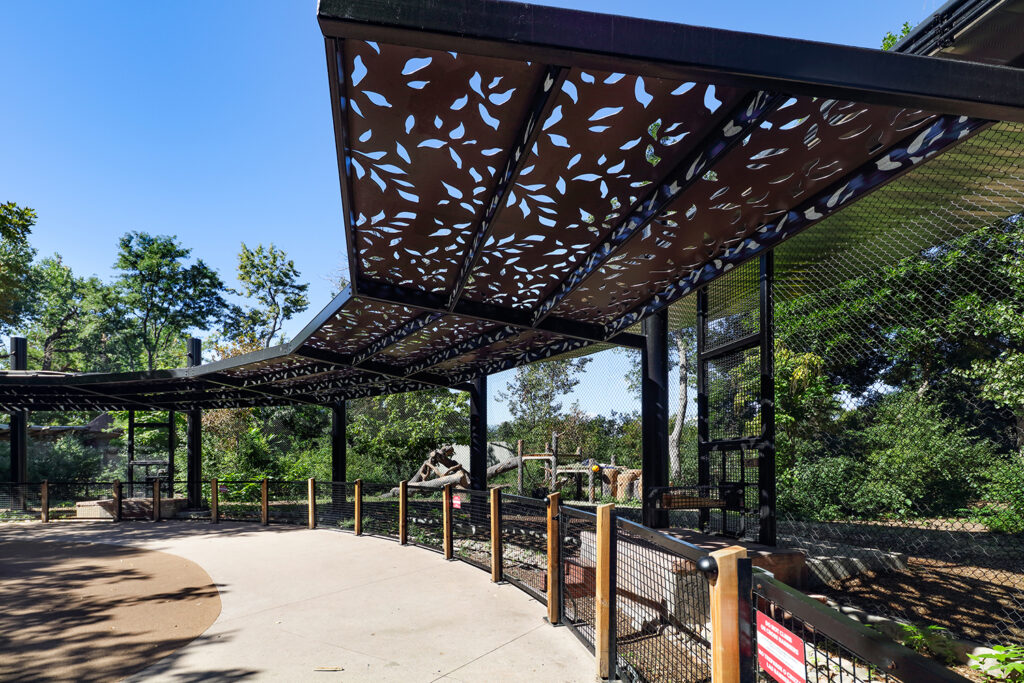
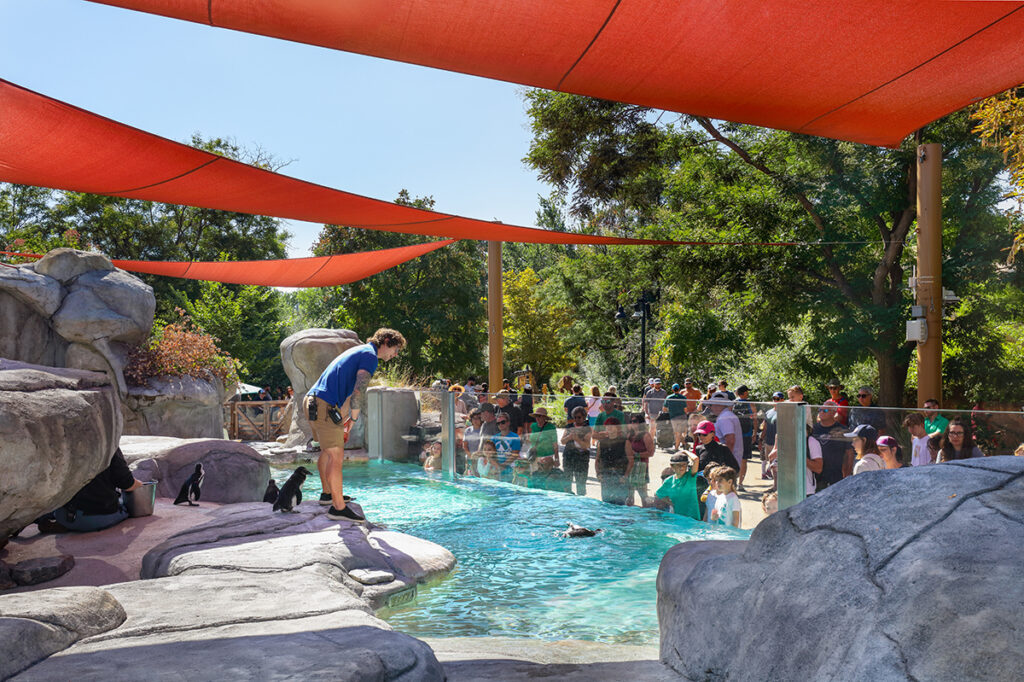
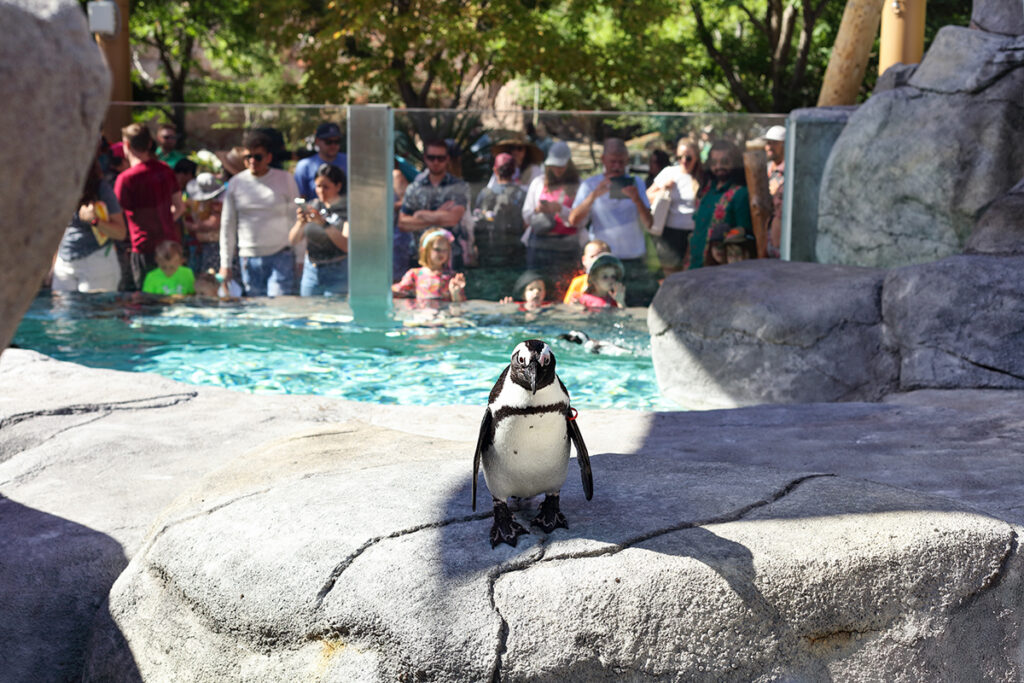
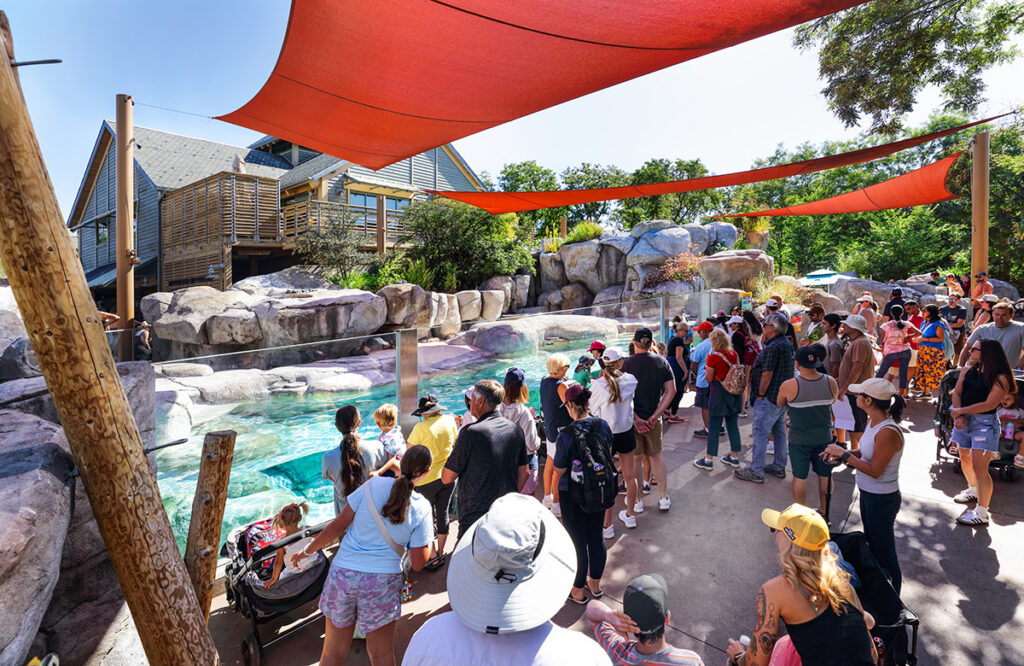
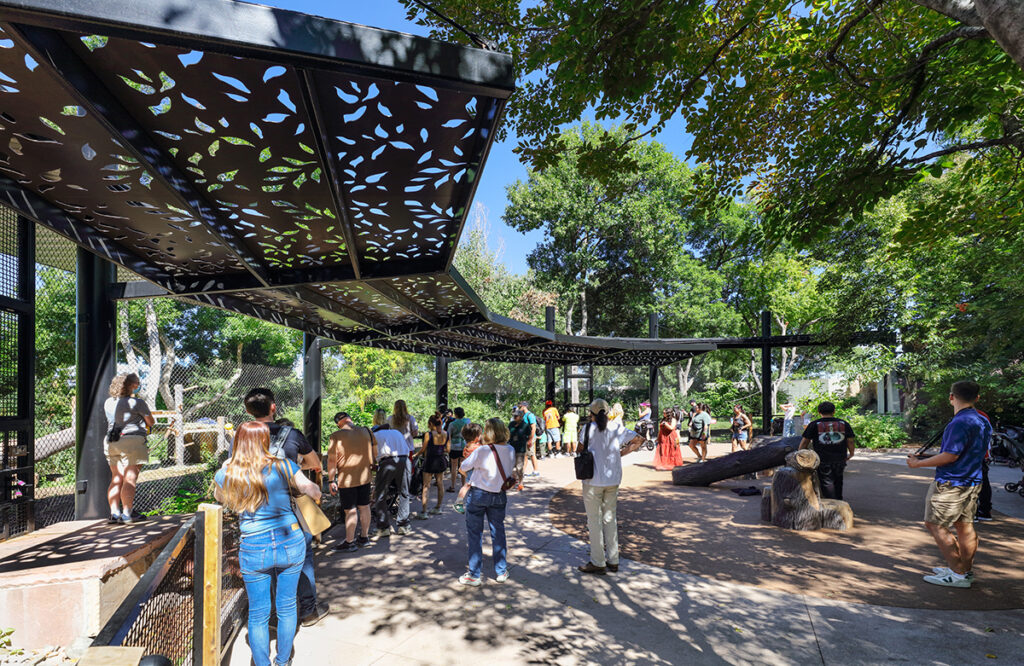
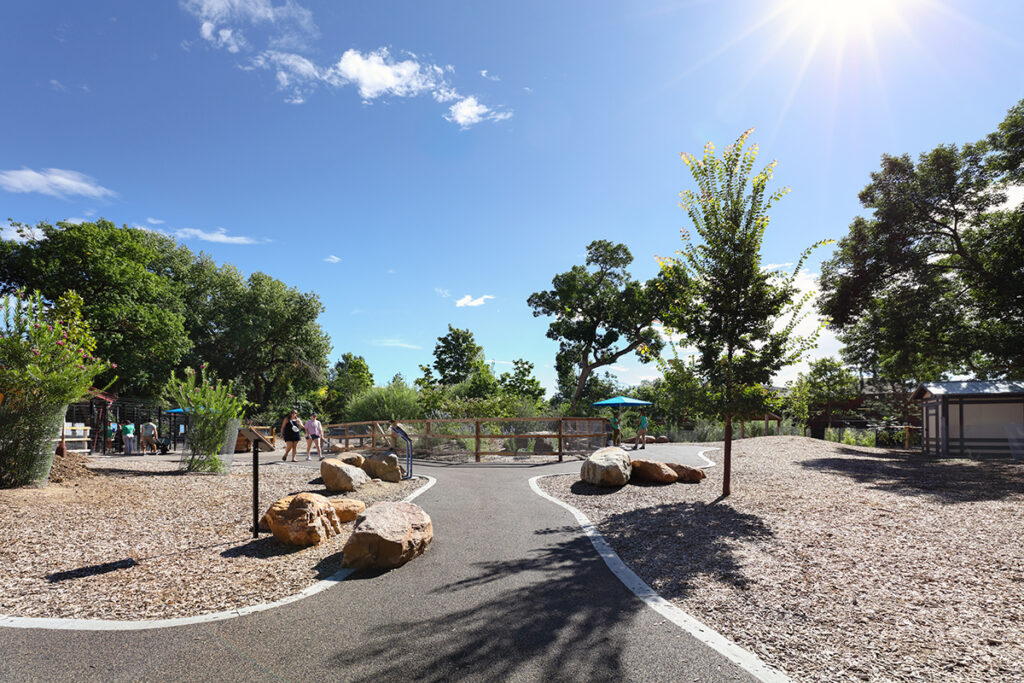
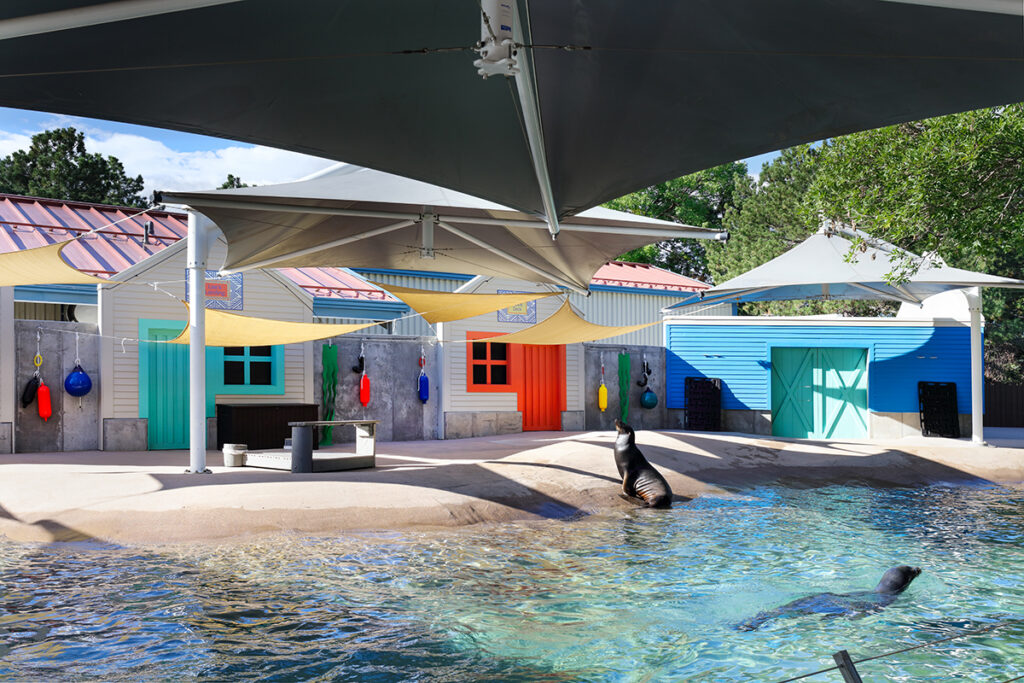
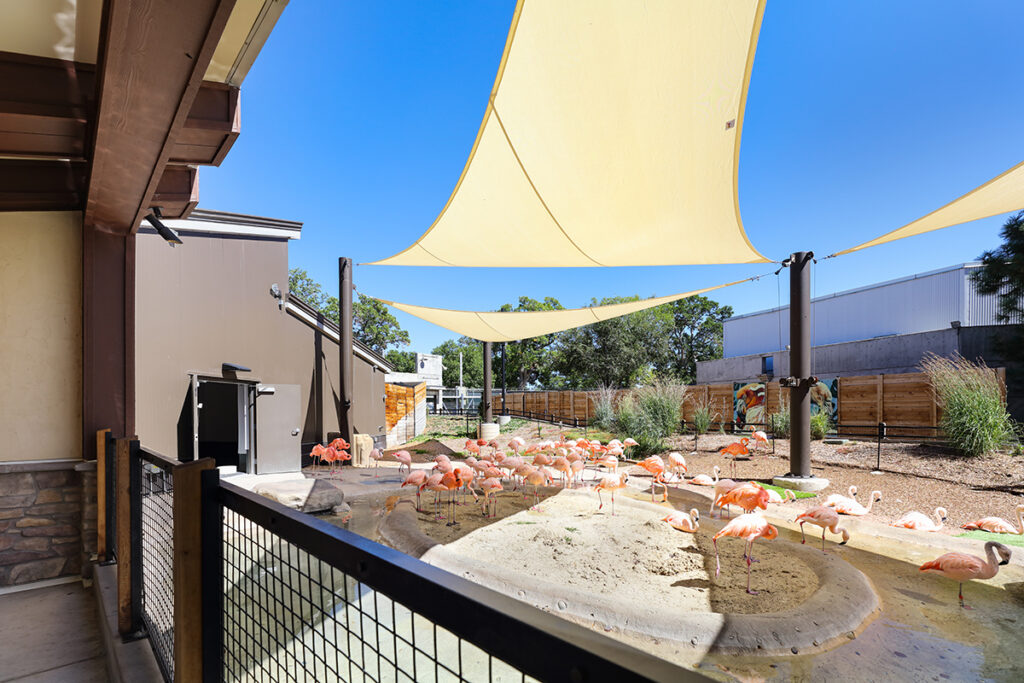
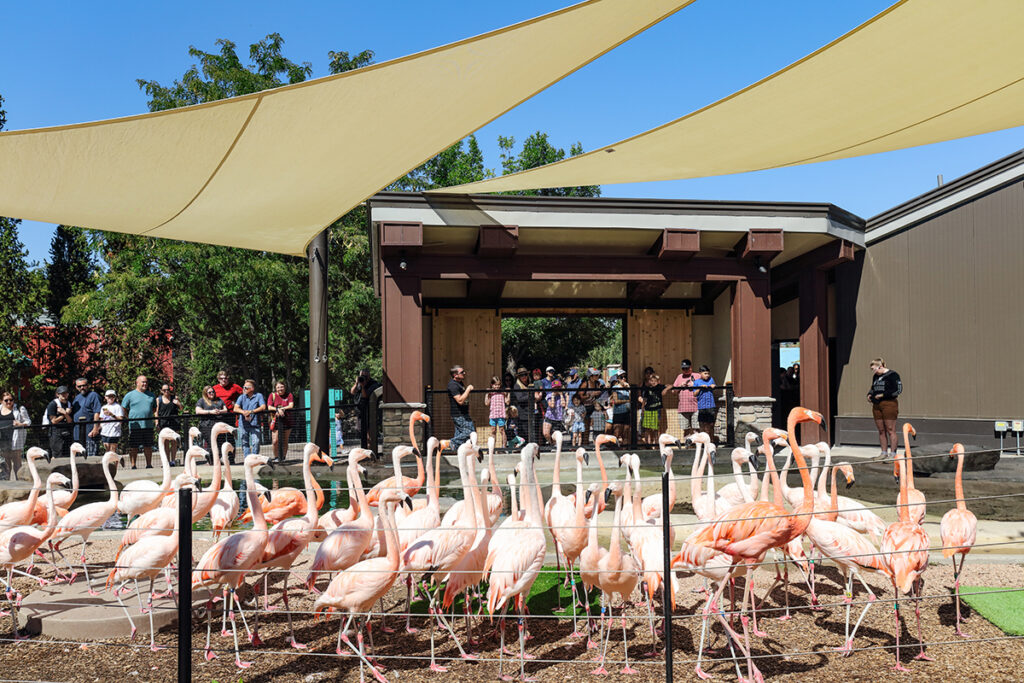
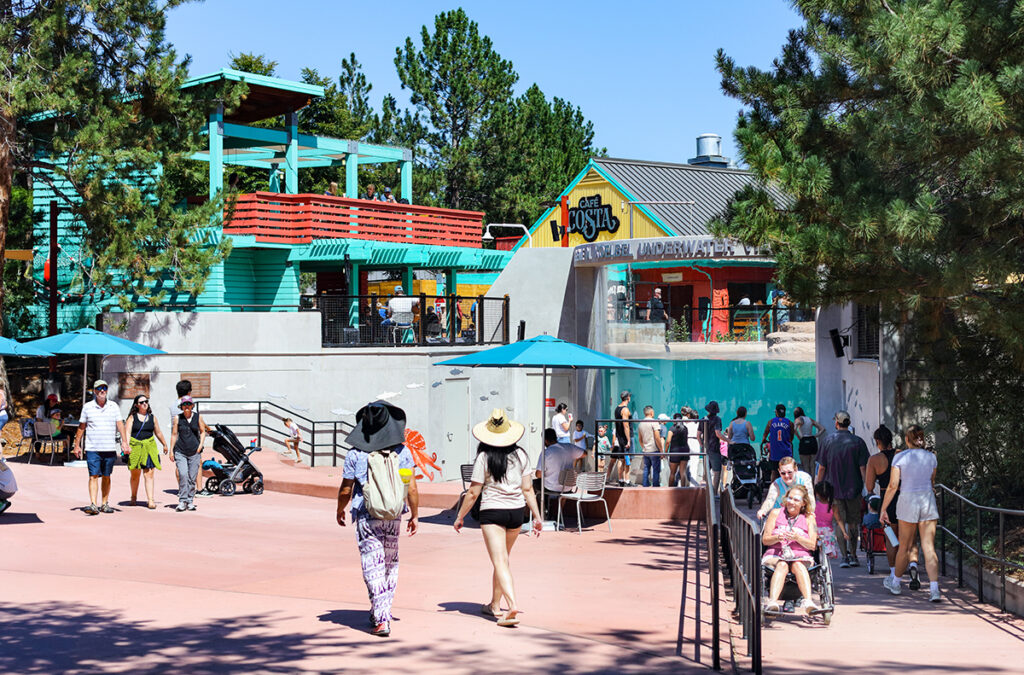
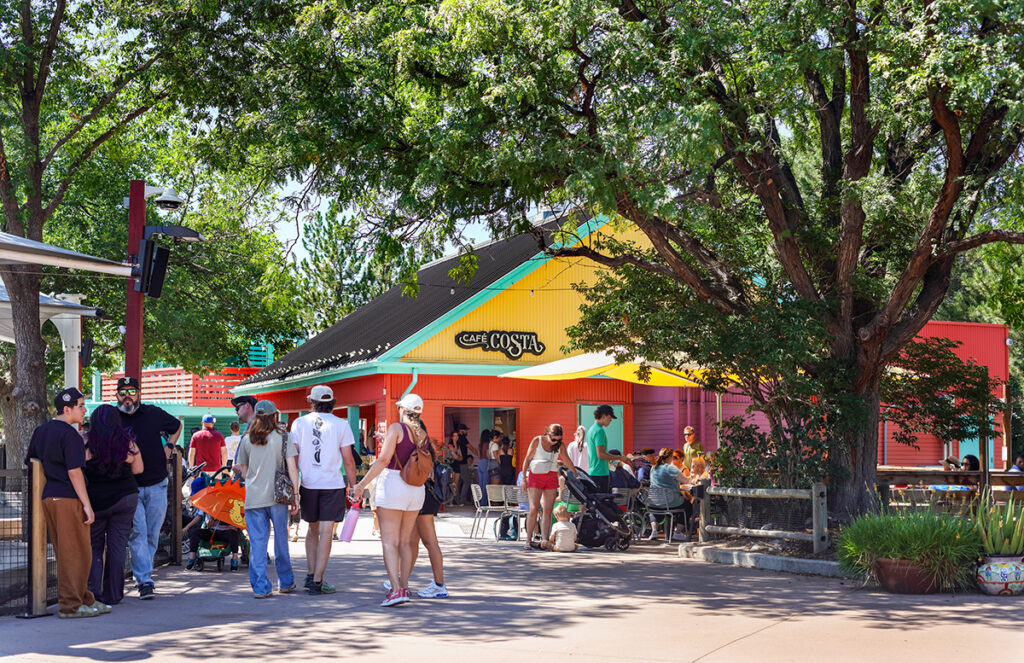
Capturing the Structures and Architectural Features With, and Without People
My directive from BRS (the architects) was to capture the structures with and without people in them if I could. They emphasized that it was important to capture the structures being viewed and enjoyed by the zoo patrons.
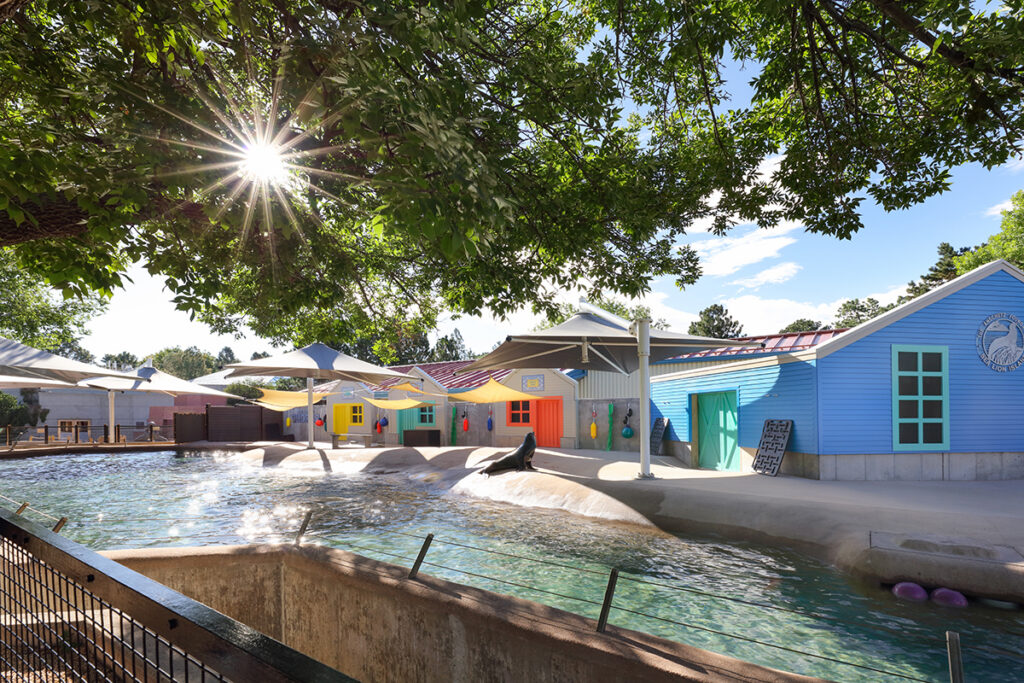
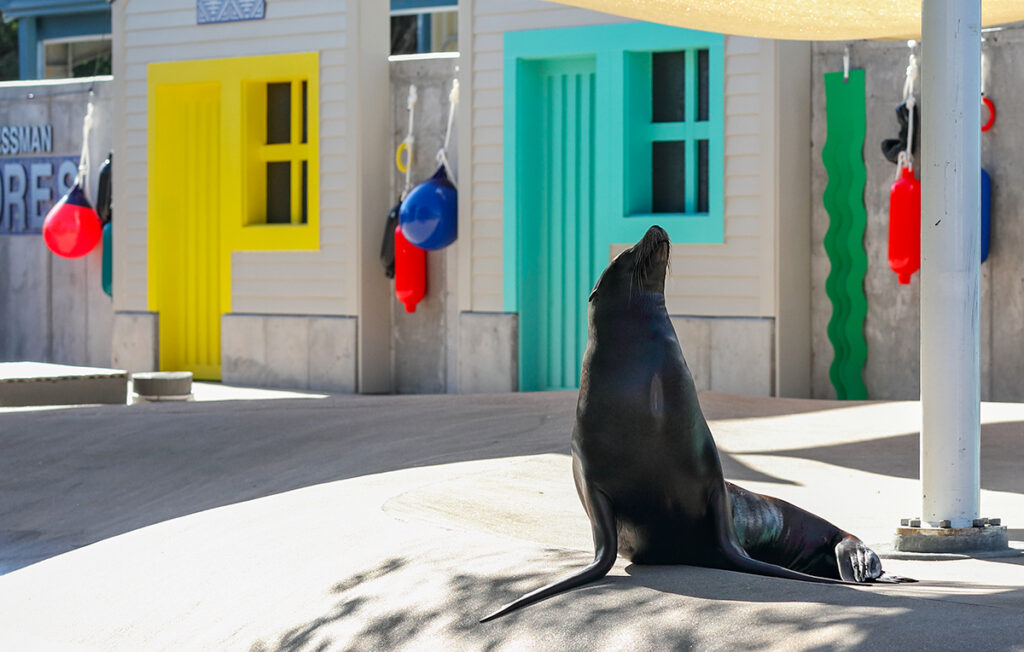
I was able to get in a few hours before opening to get some “clean, unobstructed shots.”
Capturing the features with people in them required a strategy. What I did, and used were:
- A monopod for several shots and a remote shutter release to get above the crowd.
- I took my son with me on one visit and “acted” like I was photographing him but also getting the crowd in the shot too. Why? People can get a little weird about photographers photographing people they don’t know. This is a fact of life and having my own son there helped put people at ease.
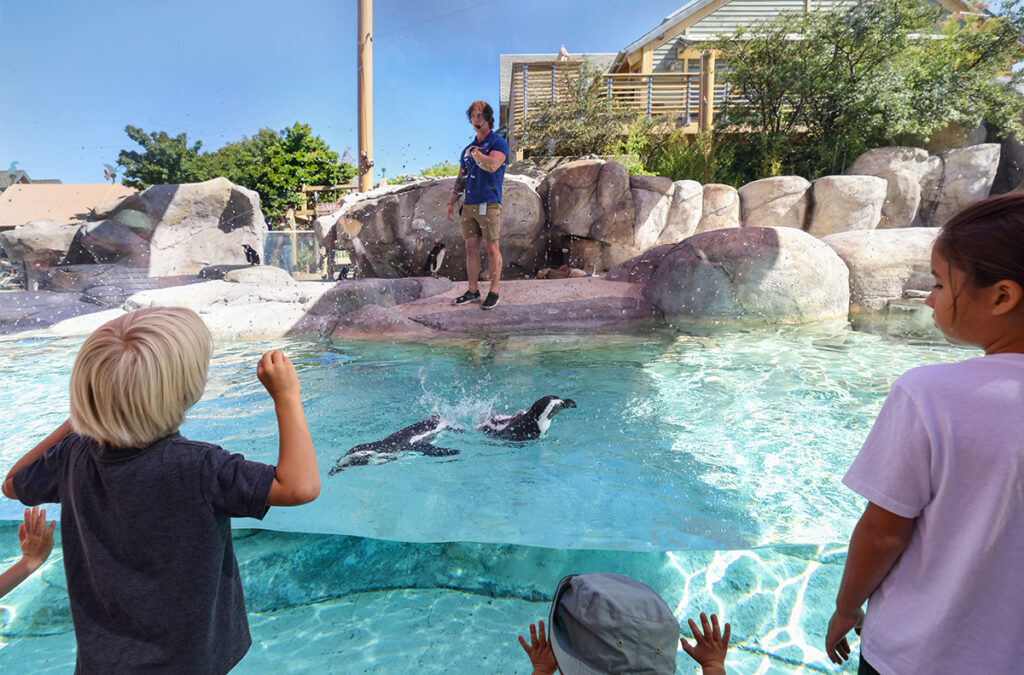
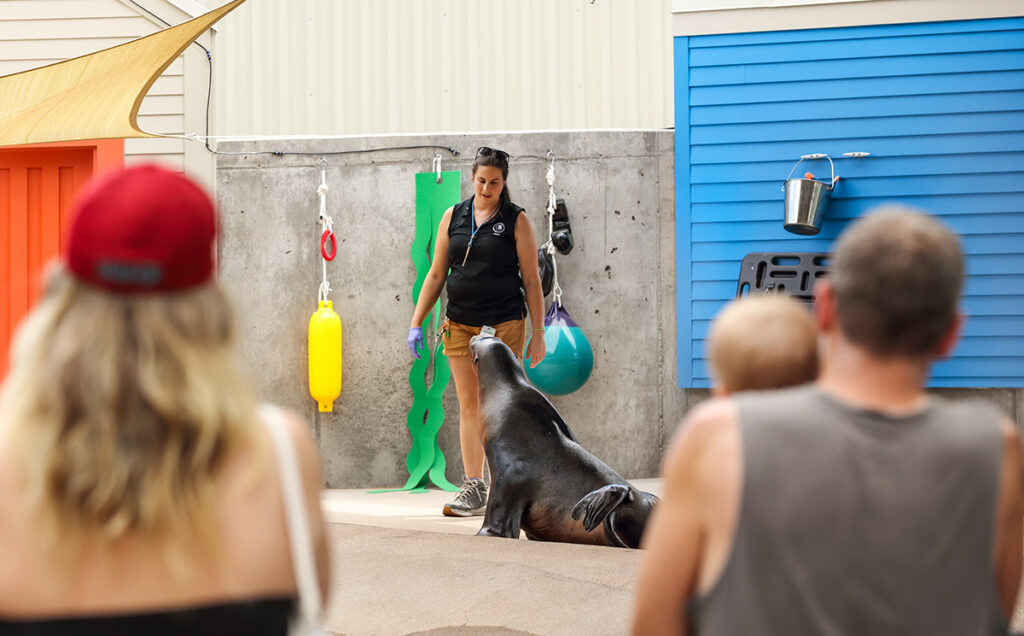
- Timing my visits when there were feedings and shows.
Some of the challenges I faced, and the solutions were:
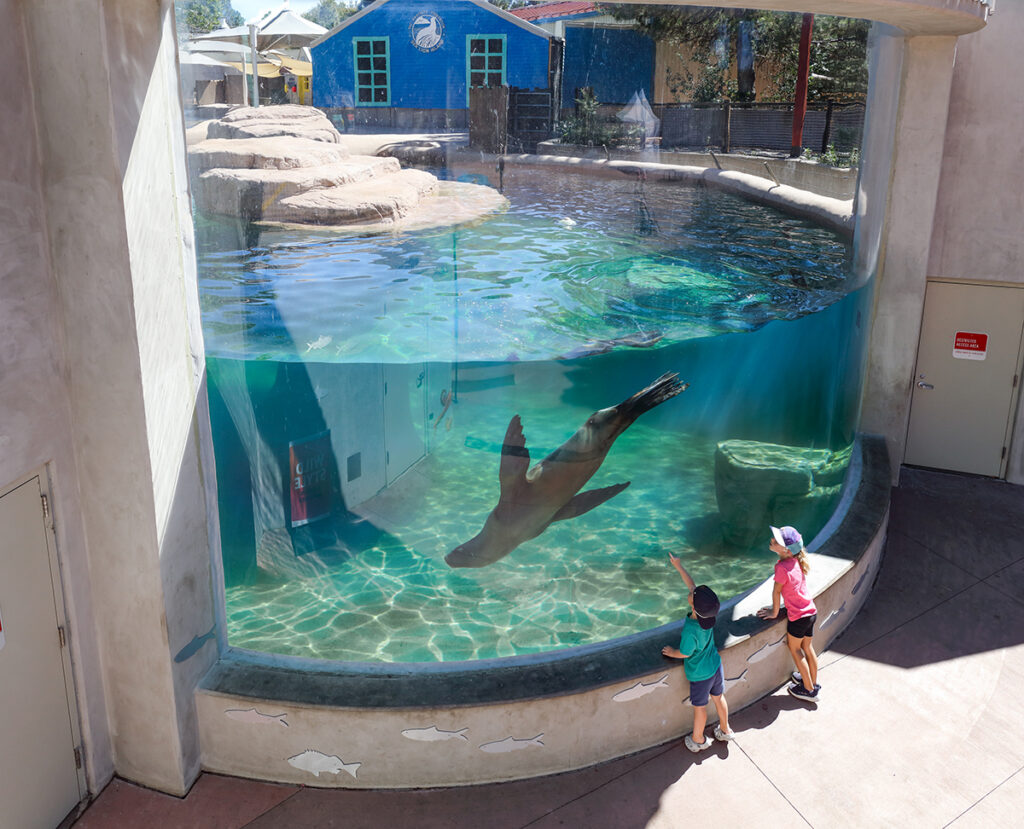
- Glare on the glass was pronounced, so I used a CPL filter which minimized it
- Dealing with direct sun at times was a challenge, so I made several trips to the zoo at different times of day to capture the features in different light and planned the day so I was not shooting directly into the sun wherever possible
- Getting clear shots of the architectural features without too many people blocking the shot was challenging at times. I went into this project knowing that I would need a fair amount of patience, which turned out to be one of my best tools and strategies for this project.
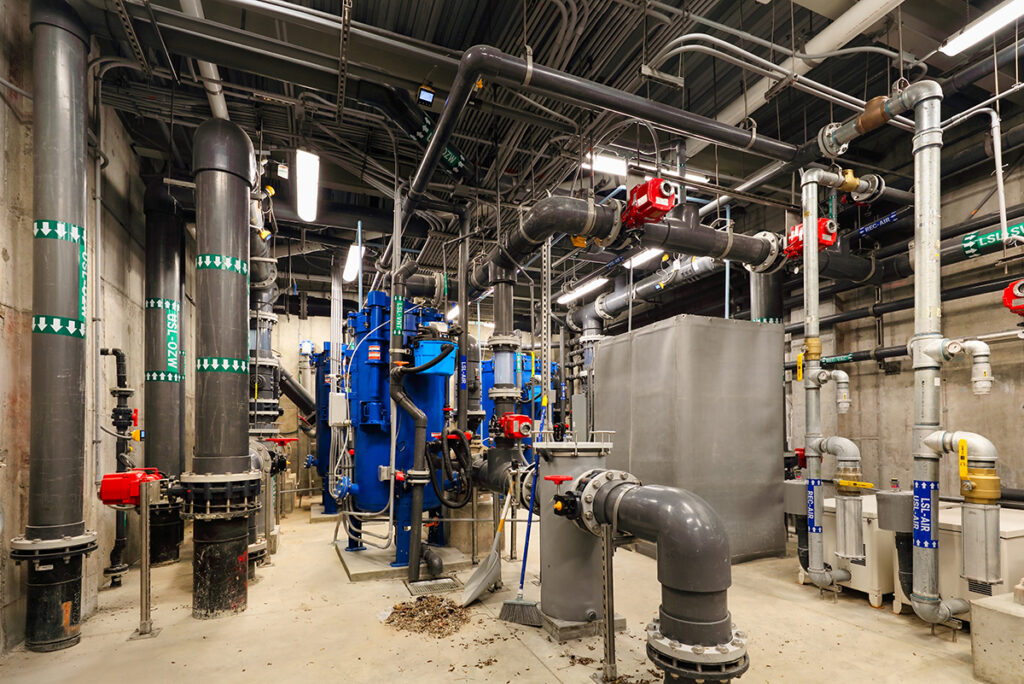
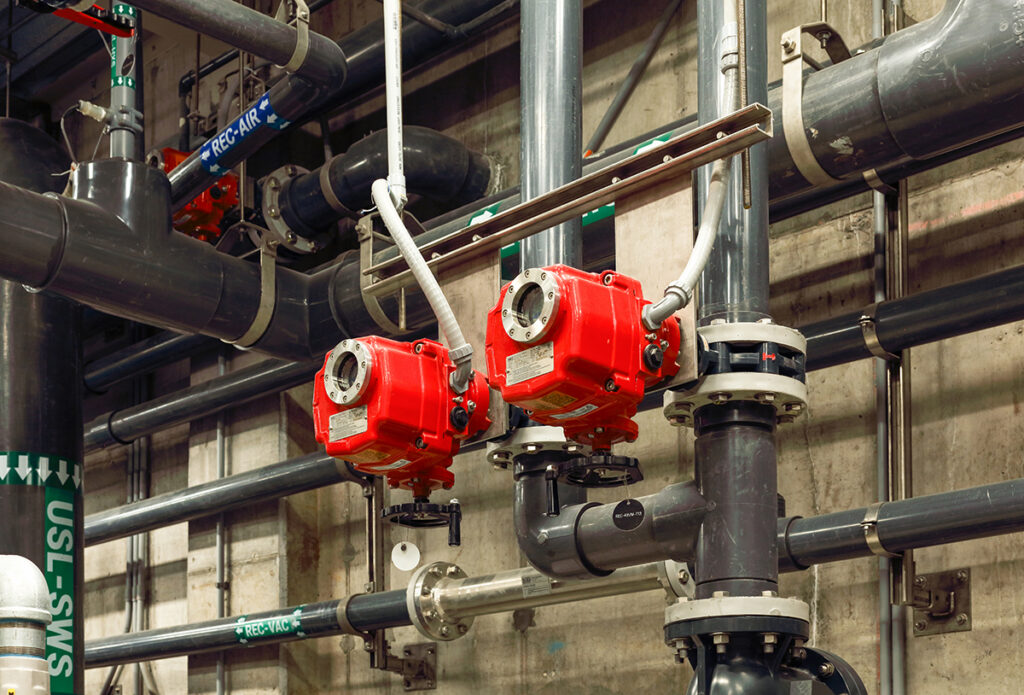
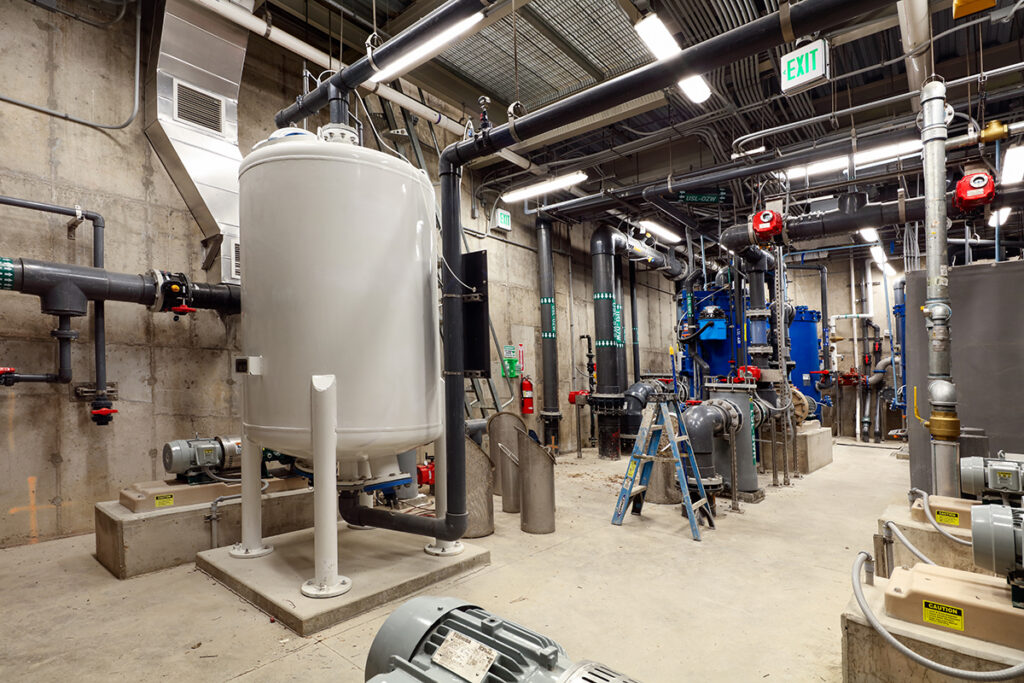
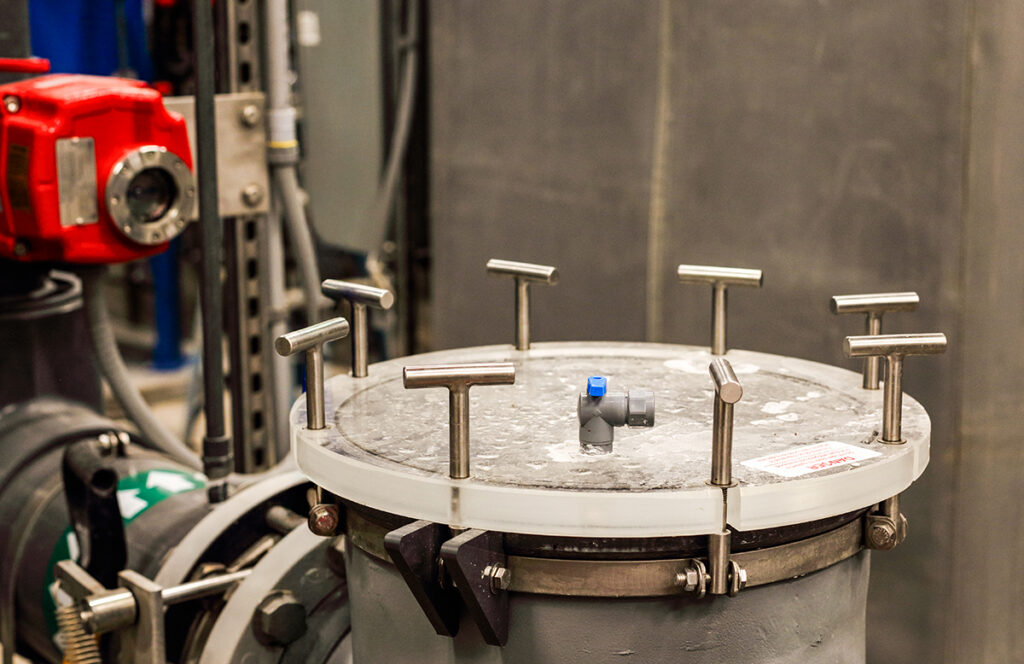
- I couldn’t use flash, or lights anywhere. I would have liked to use them in a few places in the mechanical rooms, but that was prohibited. No solution other than bracketing and careful blending / luminosity masking in post production.
Lenses and Equipment I used for the Zoo Photography Project
One lens would not have sufficed for this project. I had to carry a large camera-bag around all day in the hot sun, which was cumbersome. However, it was necessary to achieve some of the photos that were necessary.
- 17mm Tilt-Shift to minimize distortion on the wider shots
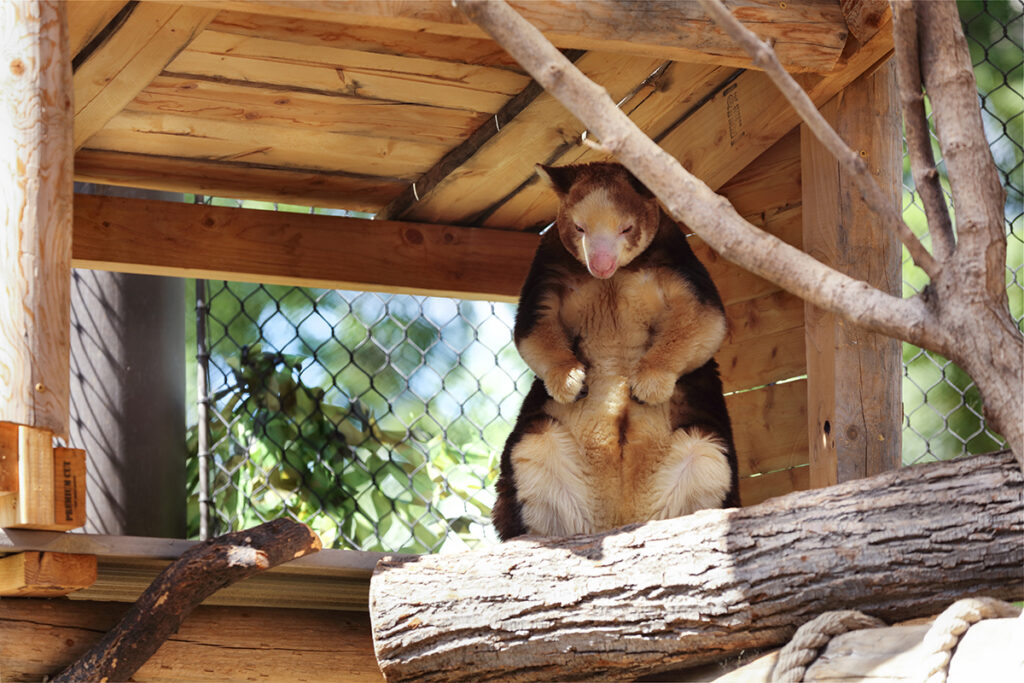
- 70-200 mm 2.8 to capture more detailed photos of the animals and architectural features
- 50 mm 1.4 for detail shots where the 70mm was too much
- 16-35 mm for many of the standard shots. I leaned on this lens where I needed to switch focal lengths quickly with changing crowd conditions and animal behaviors
- Monopod for getting above the crowd
- CPL filter to remove glare on the water and glass
- Canon 5DSR for the highest resolution possible
- CamRanger to be able to release the shutter remotely
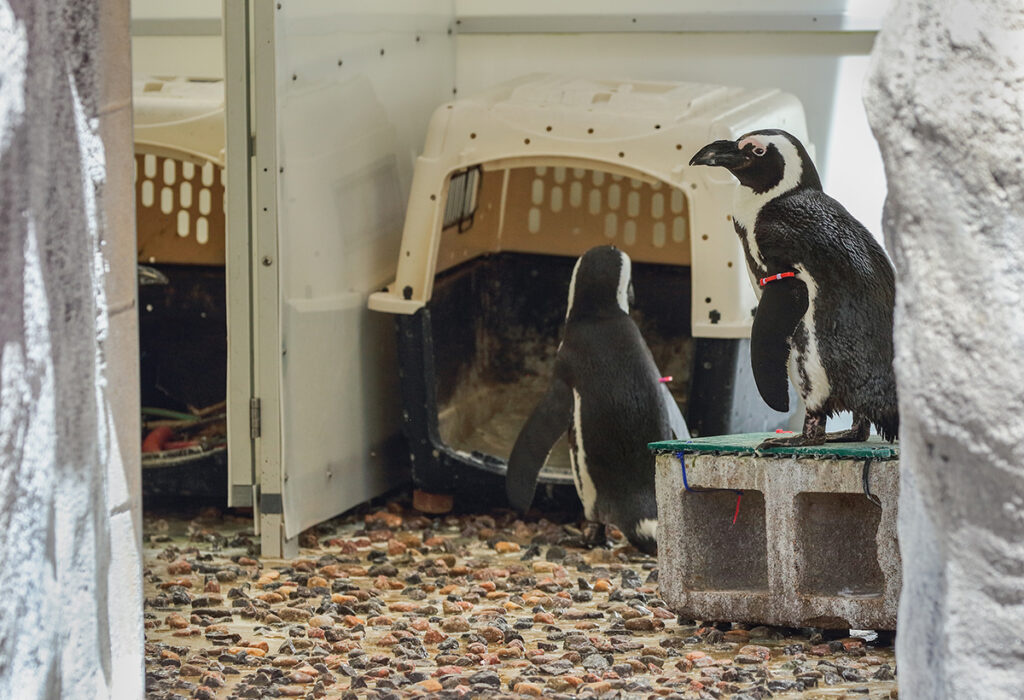
This was one of my all-time favorite architectural photography projects in Denver that I have ever done. Photographing in a rouge, and unpredictable environment can be very difficult, but can also provide some amazing opportunities for creativity and lucky interactions with patrons and animals.