
Recreation Center Photography
Anyone who is an architectural or commercial photographer will tell you that Recreation Centers can be one of the hardest subjects to photograph, for a number of reasons.
These centers can often only be photographed when open, meaning we’re having to work around patrons, staff, and general chaos. Things are often out of place, and there are times where people may be in the scene who request not to be photographed.
It takes patience, and strategy.
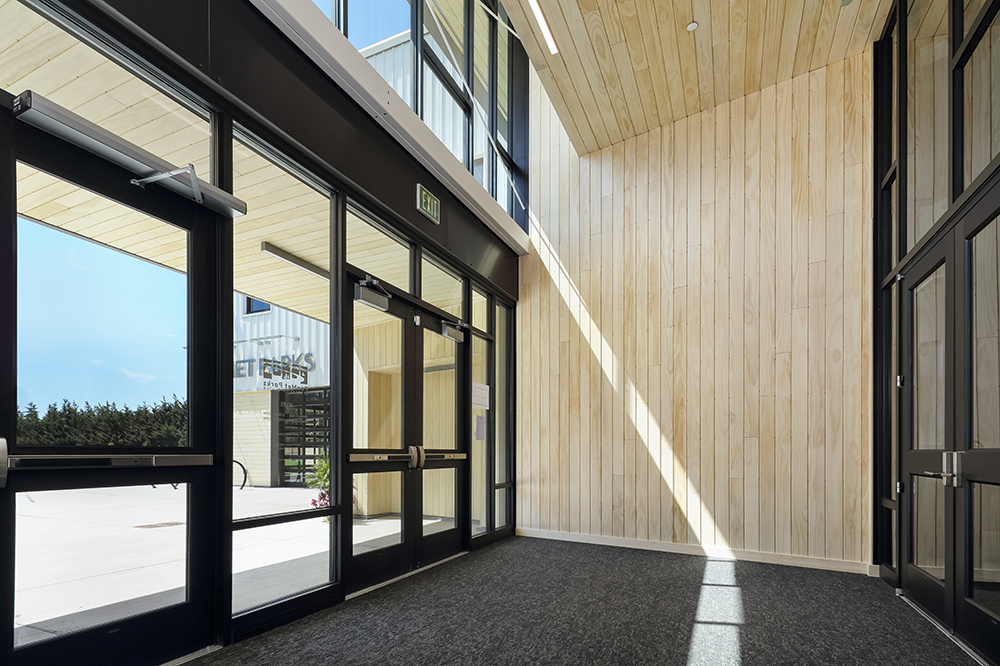
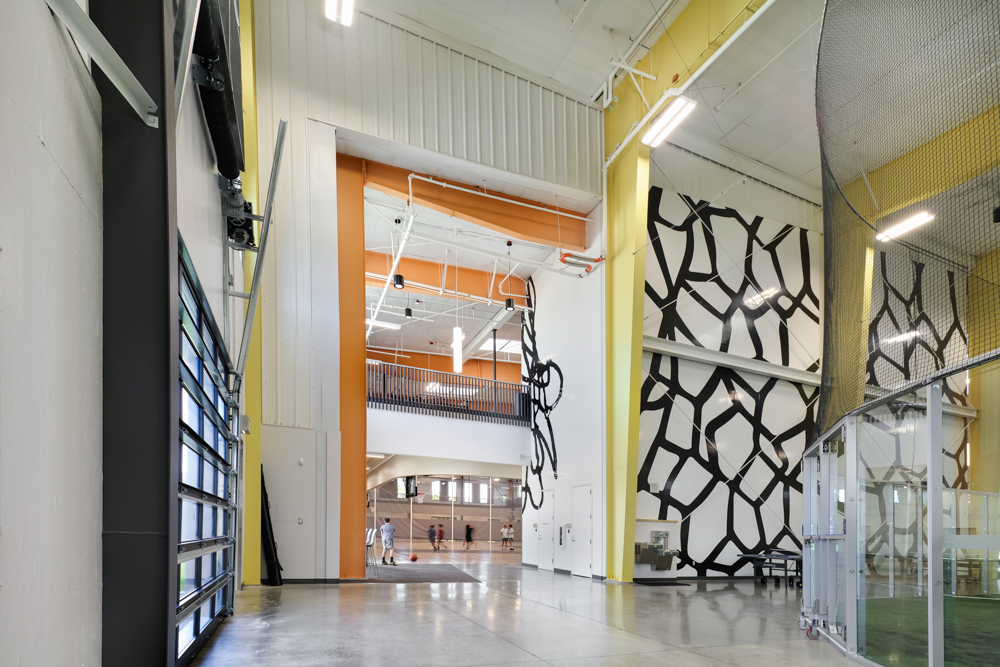
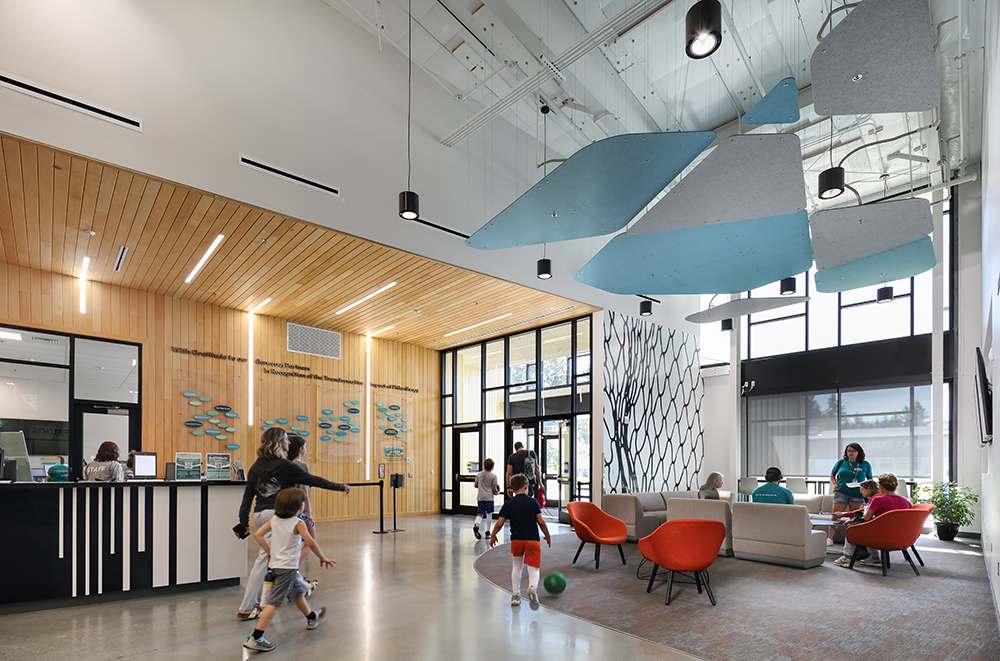
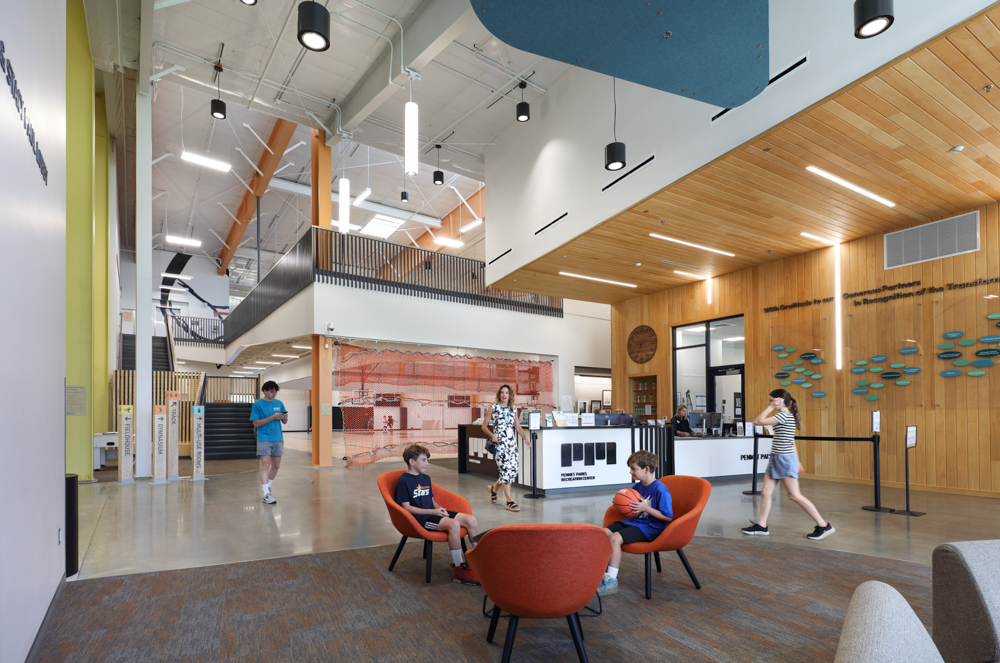
I’ll start with a handful of photos I have captured inside (and out) of Recreation Centers. Then I will talk about:
- My planning and strategy
- My Gear (and how to travel with it on planes)
- Working around people and patrons
- Challenges, and how to overcome them
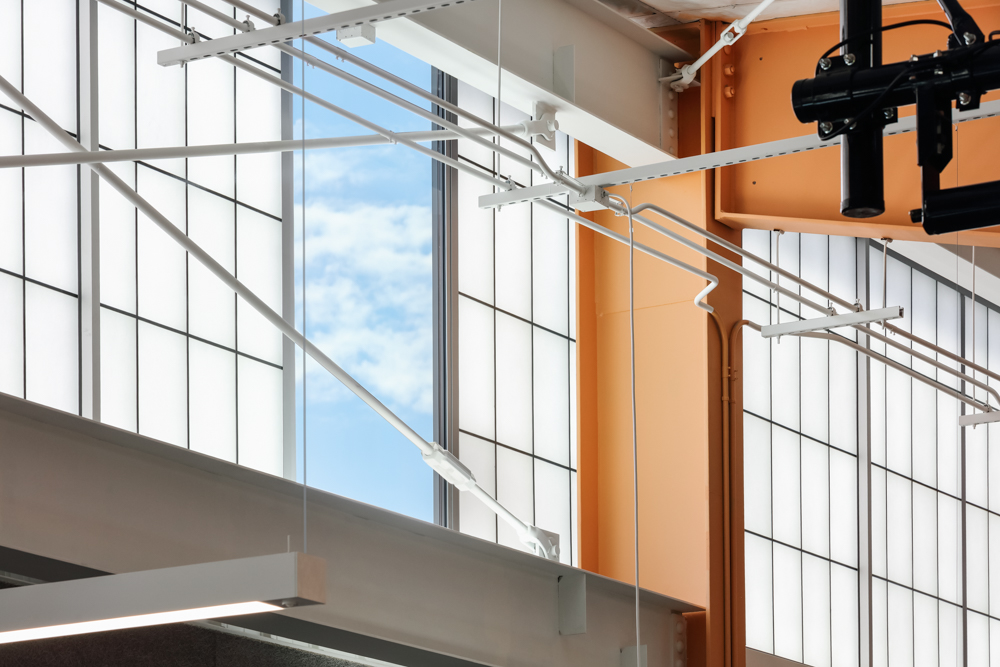
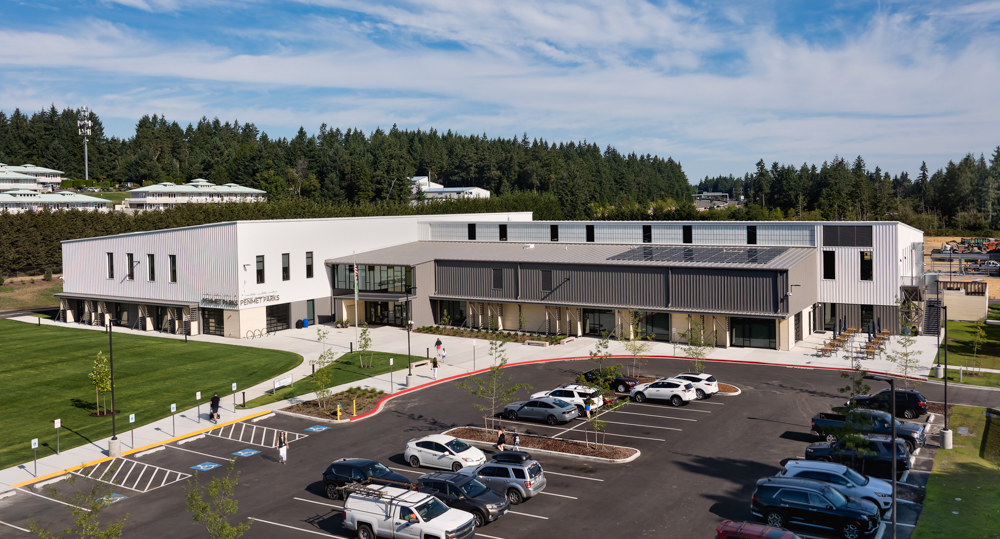
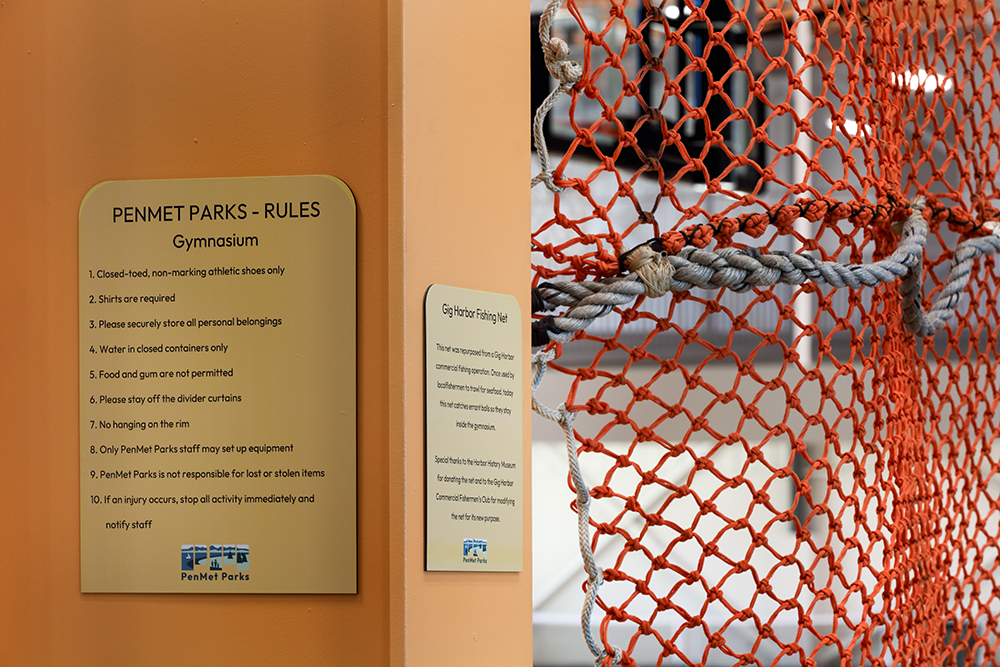
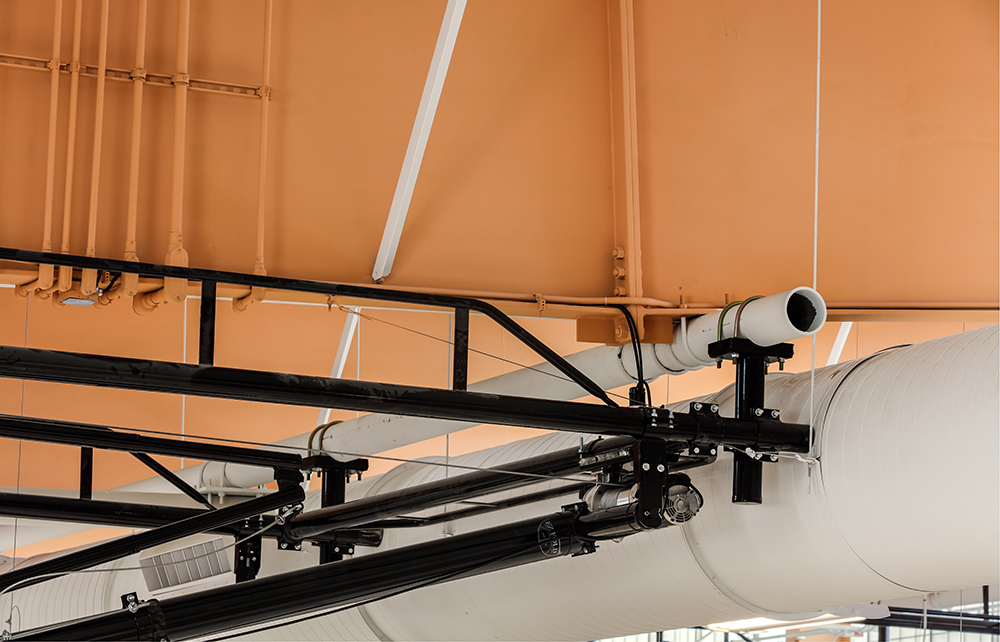
I worked recently with BRS Architecture in conjunction with the construction teams, as well as the steel providers and manufacturers (Bluescope) to capture the jointwork, metal work and more like in this photo below:
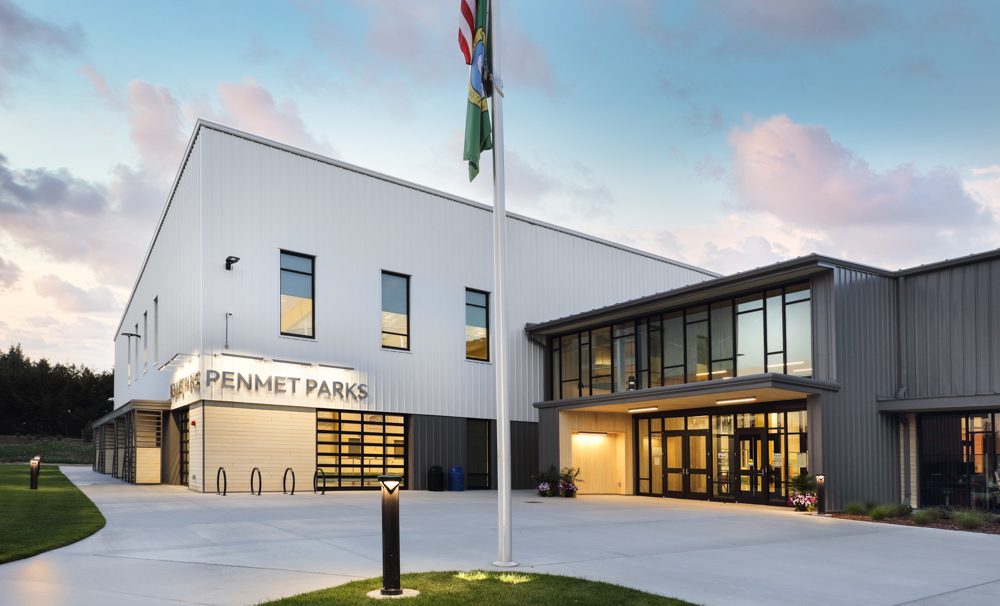
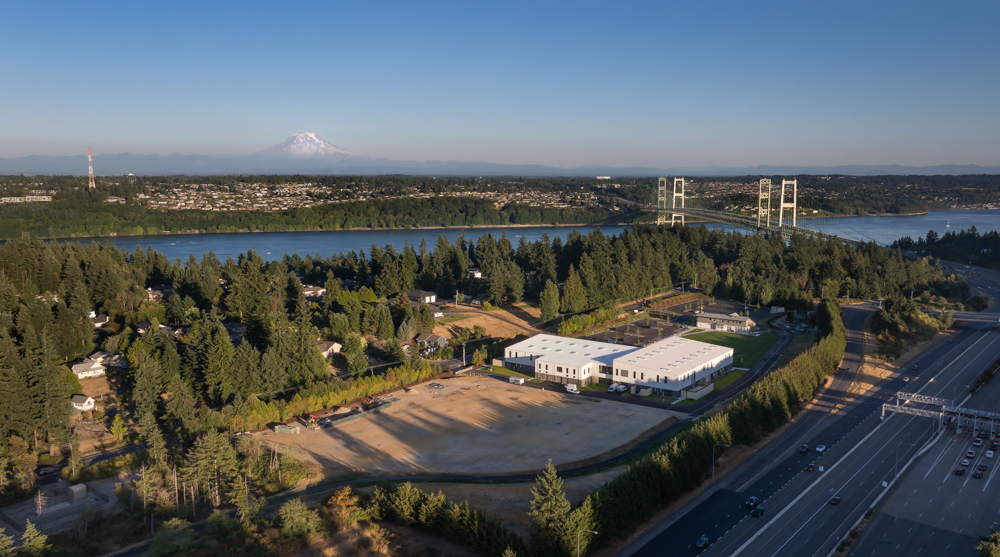
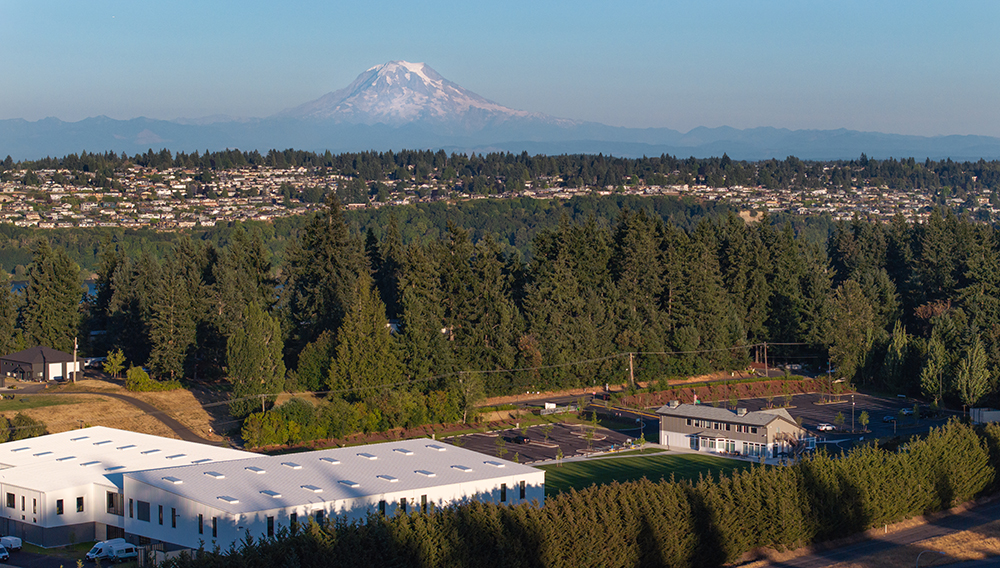
We also planned on dusk photography and drone / aerial images.
Planning and Strategy to Photograph a Recreation Center
- This project was one I had to fly to, and is notorious for bad weather. I kept an eye on the extended forecast to make sure we had clear skies. Getting the facility with the surrounding area in good weather was a priority. We had a backup plan to reschedule if the weather didn’t look good. I like to use Weather Underground for the extended forecast.
- I looked at the sun position of the facility for the time of year, and had a plan to capture each side of the building in the best light. I use LightTrac to calculate this.
- I checked FAA Rules regarding traveling with drones, and LiPo batteries. These rules change all the time. At the time of this writing, all LiPo batteries have to go inside carry-on bags. Drones cannot be in checked luggage. Each airline also may have specific rules related to these items so check with your specific airline.
- I made all reservations well in advance for hotels, cars and scoped out where to get groceries. I usually just make meals and eat on location. The client usually appreciates this as it lowers travel costs.
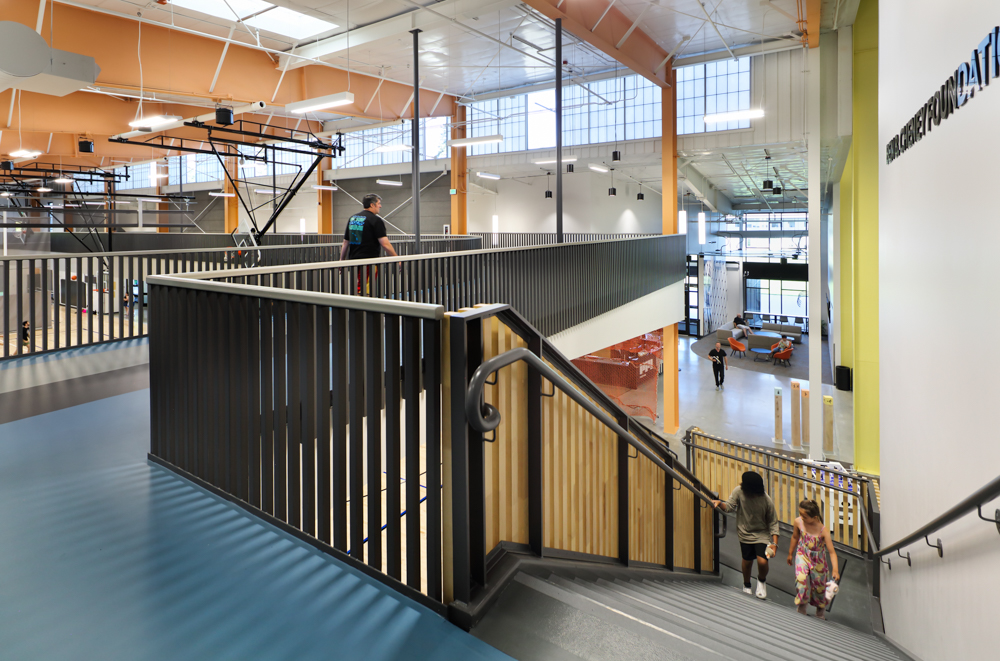
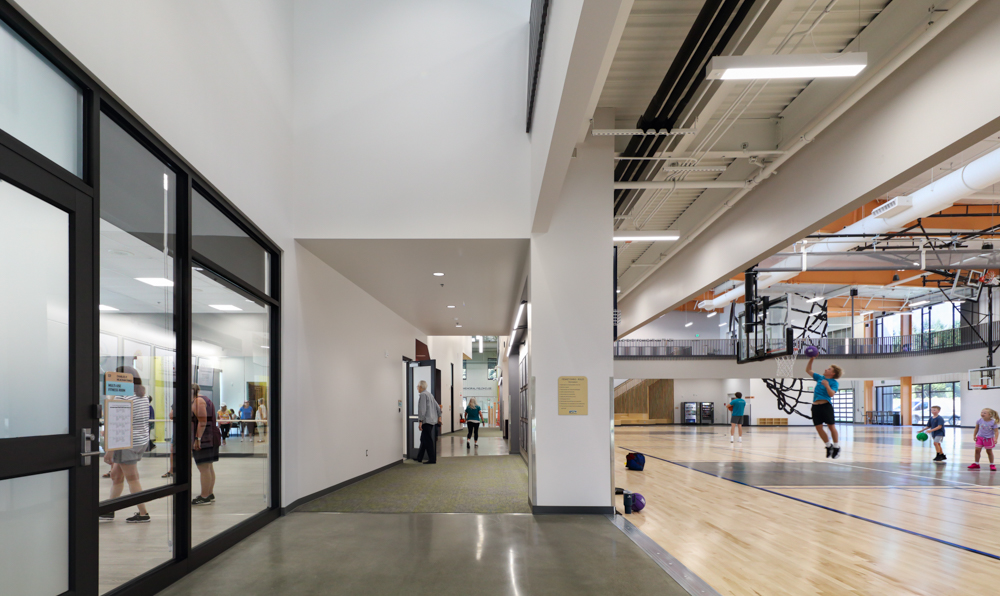
- I had several in-depth planning sessions with the architects and clients about angles, detail shots and how to position people in the photos. See the examples below.
- I made sure to scope out where the nearest photography store was in the area I am traveling to in case something breaks or gets stolen or lost. I also looked at their hours of operation and got a sense of what items they carry if I should need them.
- I took a spare camera body, batteries, lenses, and tripod heads, just in case.
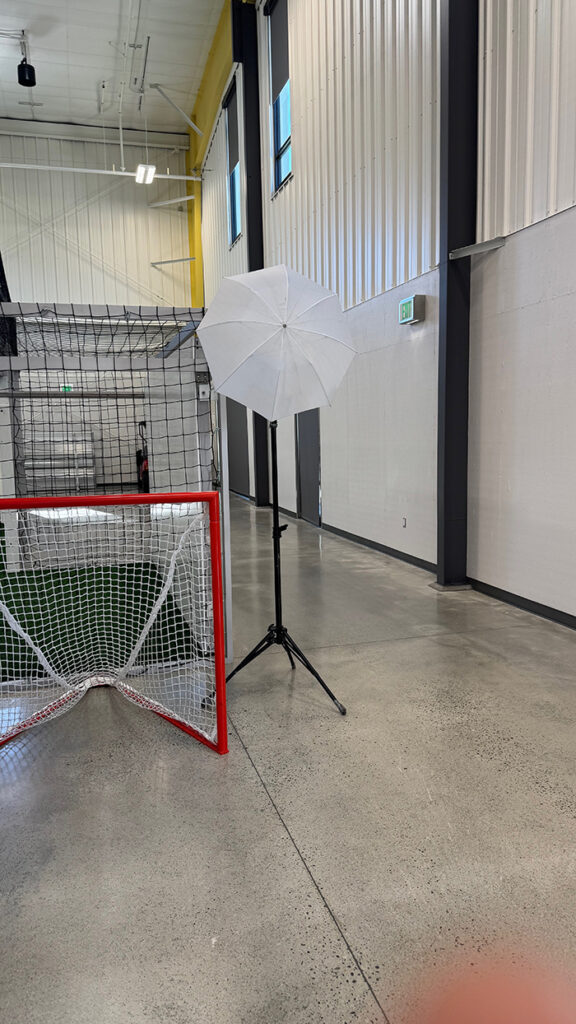
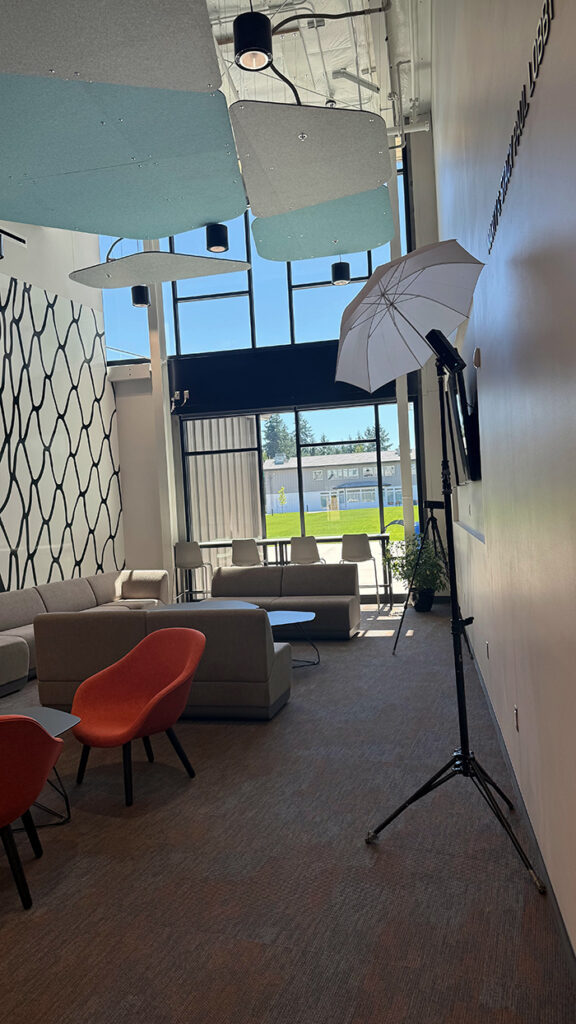
- I did take a few strobes and light-stands and used them in certain cases to highlight areas, or to eliminate glare or window flare, or blown out highlights.
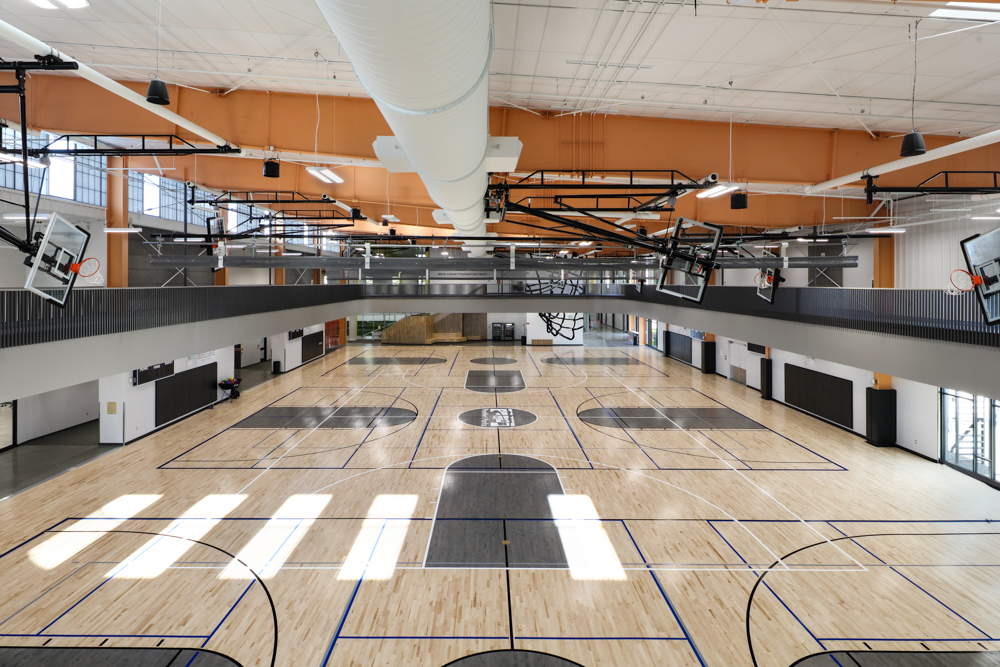
- A high-quality Circular Polarizing Filter will help reduce glare on shiny floors (like basketball courts) significantly.
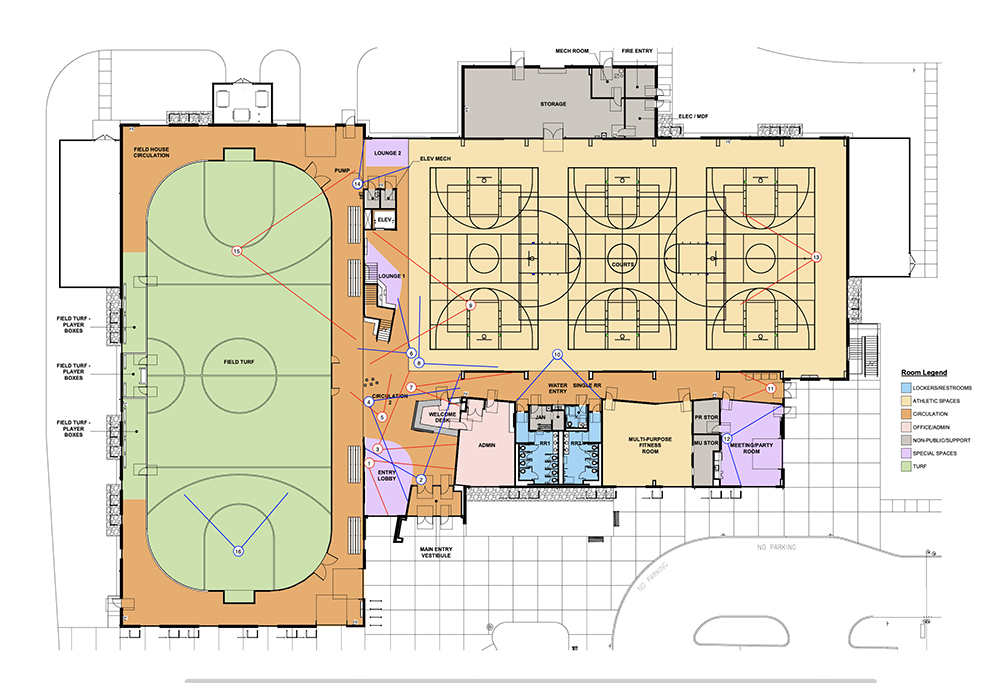
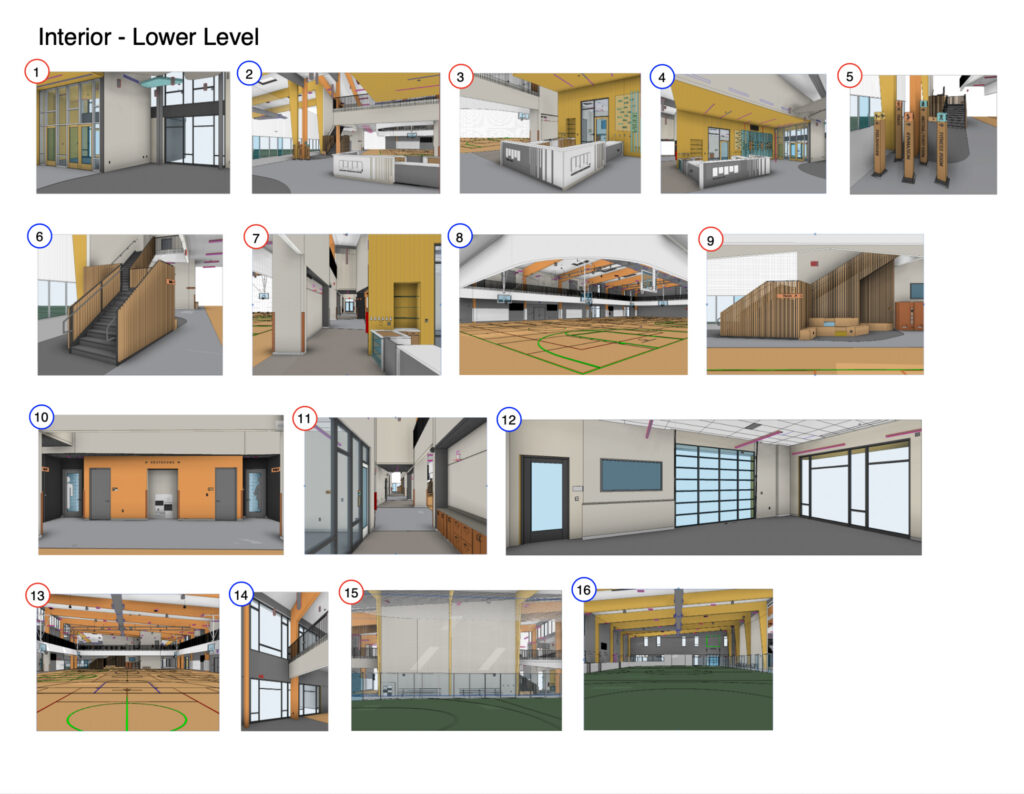
Planning Documents
I was given specific angles to capture and we came up with visual aids to make sure I understood the facility layout. If photographers don’t have an opportunity to do a pre-scout or visit, extra planning is crucial. Here are a couple of snapshots of the extensive planning documents that were generated for this project.
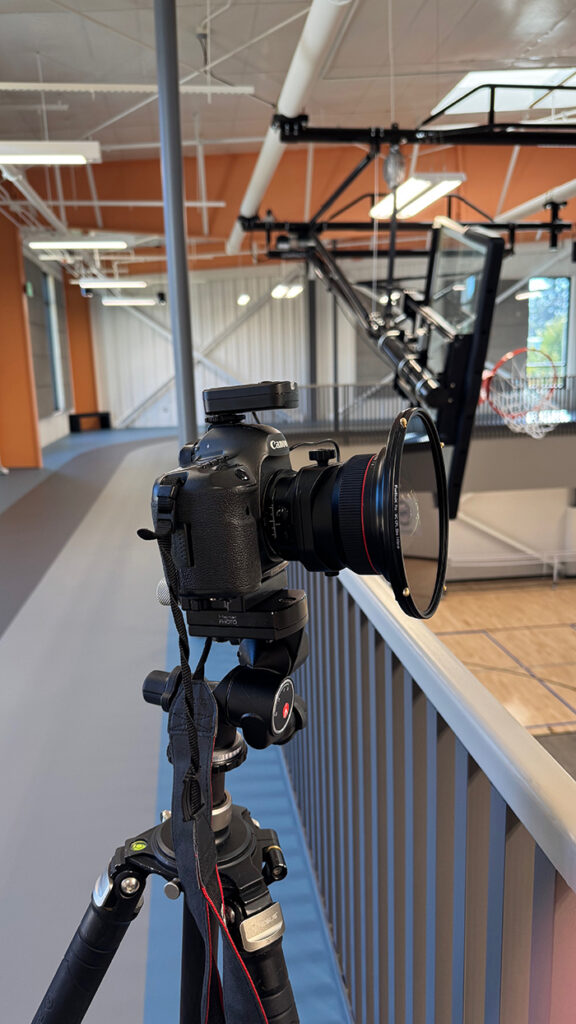
My Critical Gear for Architectural Photography
- 17mm Tilt/Shift Lens
- High-resolution camera (I use a Canon 5DSR)
- Detail lenses such as a 50mm
- One longer lens, such as a 70-200 to capture details like Jointwork or details that are out of reach of a 50mm
- Strobes for selective lighting and highlight mitigation. Some photographers would think I’m crazy for even trying to light anything in a facility like this, but trust me, it made a huge difference in several cases.
- A good drone if aerials are required. I use a DJI Mavic 3 Pro. The zoom lens on this drone can be incredibly useful.
- A geared tripod head
- A good Circular Polarizing Filter (CPL) for glare.

Working around People and Patrons
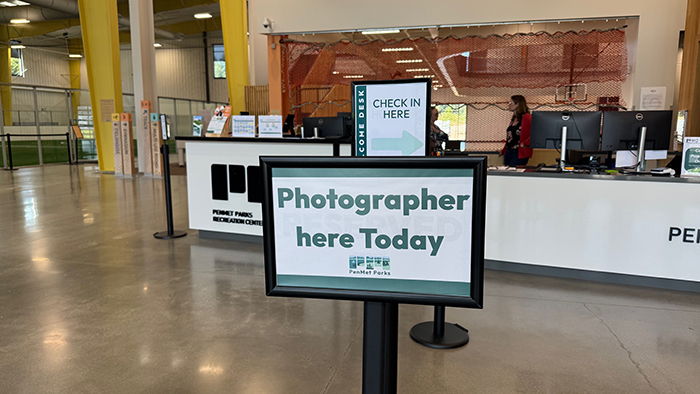
I asked the facility to put a sign out front saying “Photographer On-Site Today” and I wore a lanyard and badge saying “photographer.” This helps to put people at ease.
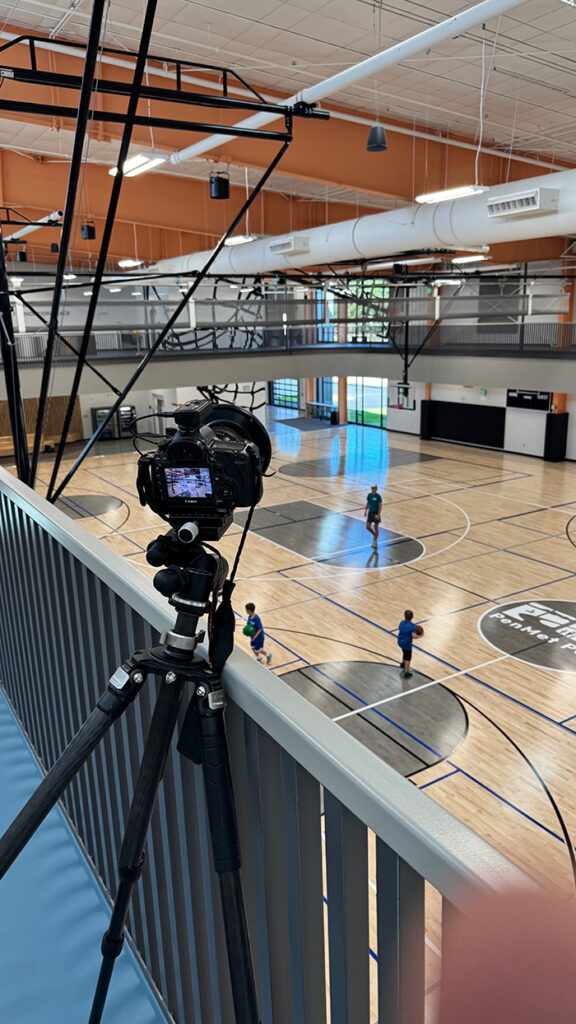
Instead of looking into the camera to photograph, I triggered the camera using a CamRanger. This way I am looking at my Ipad, and it is not as obvious that I am taking a photo. Just a little trick of the trade.
I always ask people when possible if it is ok for me to photograph them. 80% of the time, it’s ok.
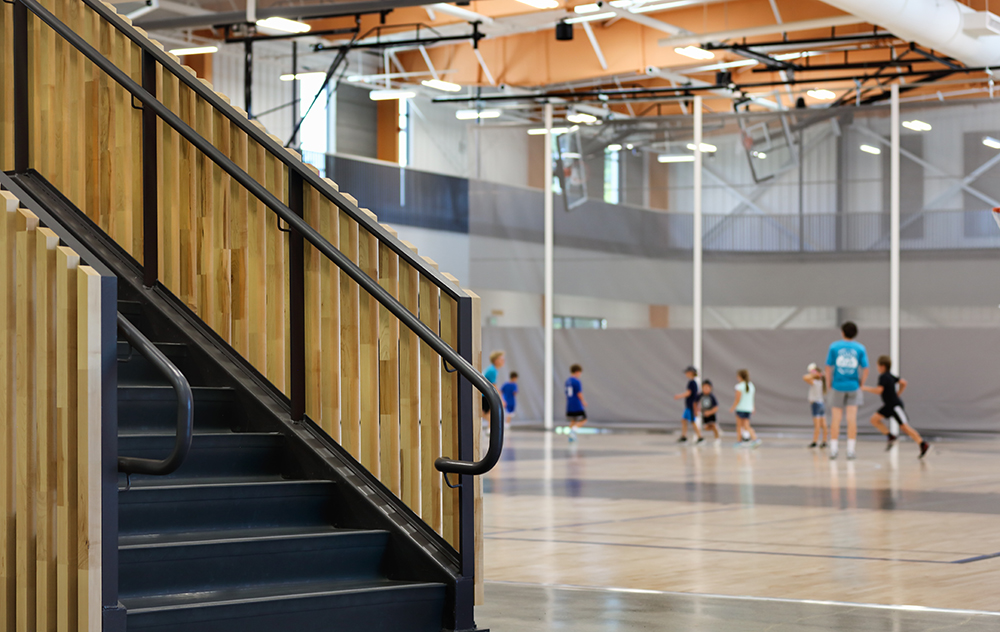
If we don’t have actual models to use, and we have to work with the patrons and public, that can be tricky. I often take 20+ photos of people walking by, and then composite them together in post-production. If you want the blurred look, a slower shutter speed, like 1/10 is a good place to start. That can vary depending on how much blur you want, the lighting conditions, and how fast your subjects are moving.

Challenges and How to Overcome Them
Things will go south, or obstacles will come up. The key is to know this going into the shoot, and to expect it. Try to build in more time than you think you will need if possible. I asked for 2 days on this shoot when we originally had one day blocked off for shooting. It was a lifesaver.
Obstacles can sometimes be beneficial. I had a huge group of people enter the space I was photographing. But, the client wanted a lot of people in that shot and the director of the group got permission from everyone in the group to be in the photo. The client was incredibly happy.
Plan like crazy. List out all of the possible problems or issues – even disasters that may happen, and then come up with a viable plan for those in advance.
Once the problem presents itself, you can say “I got this” and get the job done.
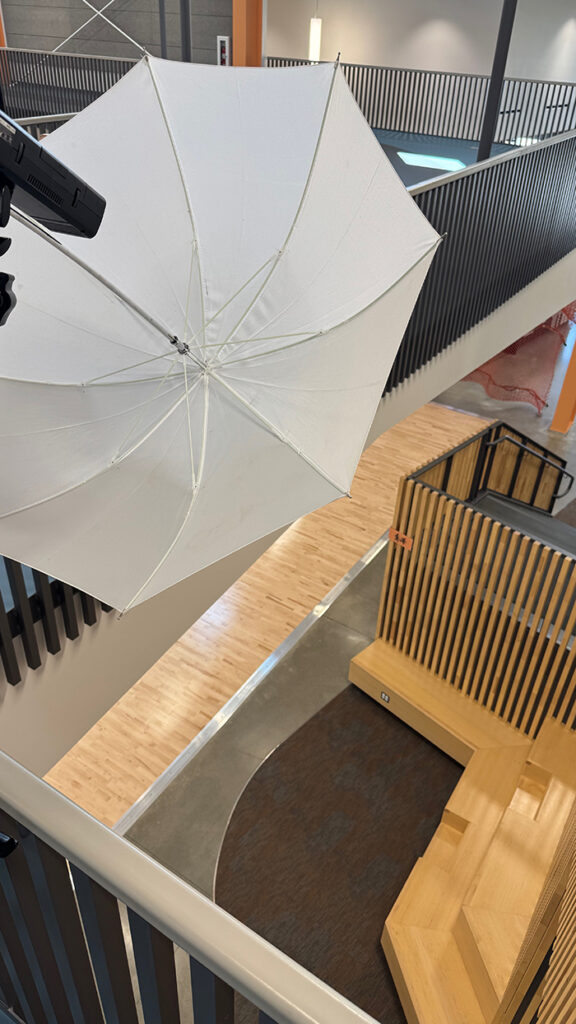
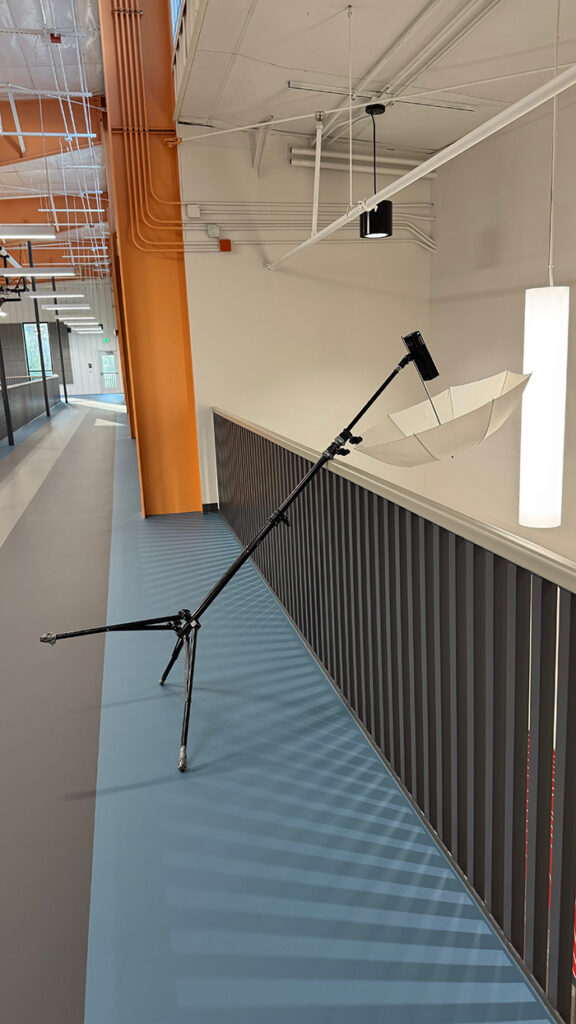
A few Behind-the-Scenes shots (BTS)
Please let me know if you have any questions about Recreation Center Photography.